
SSL certs for Cloud Exchange using Let’s Encrypt
Requirements
- CloudExchange and underling Ubuntu server running
- Domain url already setup
Setup steps
- Domain and DNS setup
- Install Certbot
- Run Certbot to generate certificates
- Install certificates for Cloud Exchange to use
Domain and DNS setup
I get that this part might not be needed so if you already know how to setup DNS, skip down to the Certbot section. Buying the domain is super easy and you just select “get a new domain” in Google Domains so I won’t cover that. Of course you can use any service to buy your domain.
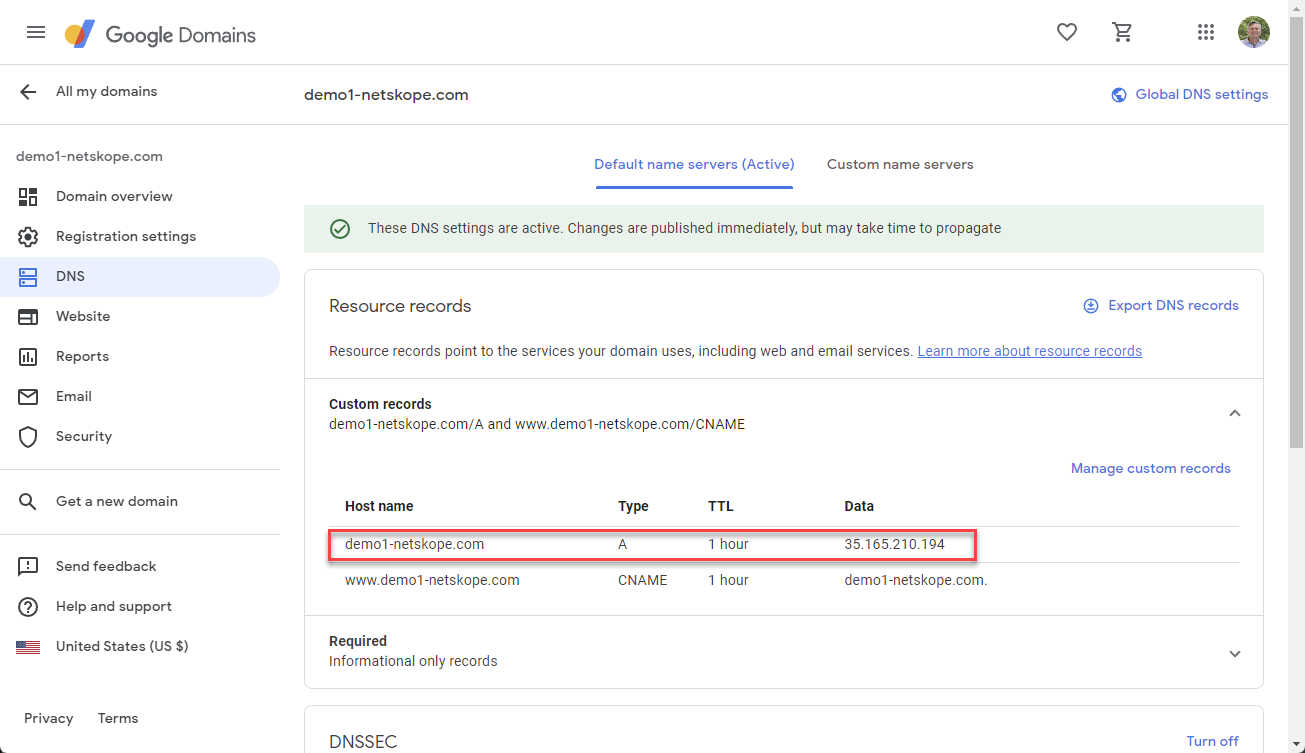
DNS - I went to domains.google.com > DNS and created my A record to point to my Cloud Exchange Ubuntu server that is running in AWS.
Host name
Type
TTL
Data
A
1 hour
35.165.210.194
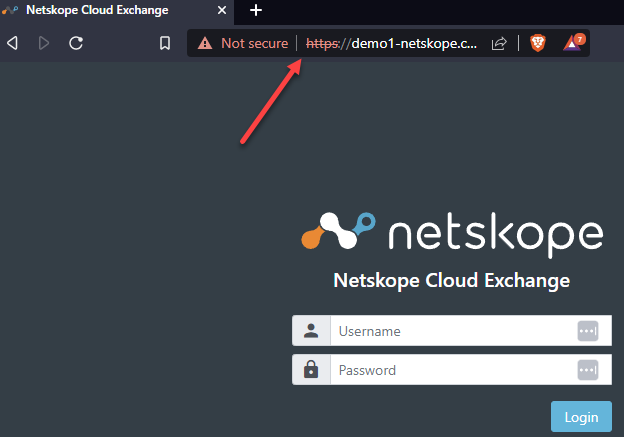
Now I can get to my Cloud Exchange with the url instead of the IP address but as you see I have a certificate error because I am using a self signed certificate. That is where Certbot comes in.
Install Certbot
SSH to your Ubuntu server and run the following command.
- sudo apt-get -y install certbot
Run Certbot to generate certificates
In order to run Certbot you will need to be a root user. So either su or run with sudo.
Note: before running the below you will need to stop Cloud Exchange if it is already running. To do this go into ~/netskope/ta_cloud_exchange and run ./stop
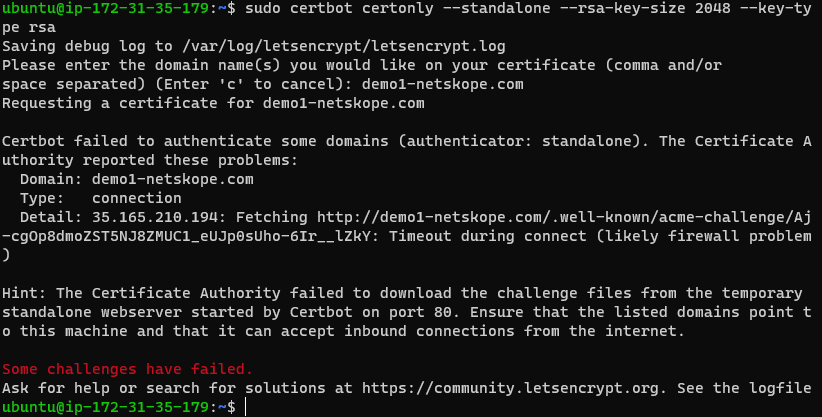
- sudo certbot certonly --standalone --rsa-key-size 2048 --key-type rsa
Well that didn’t work. In the error message below you will see that Certbot needs port 80. I didn’t/don’t have that allowed to my AWS EC2 instance.
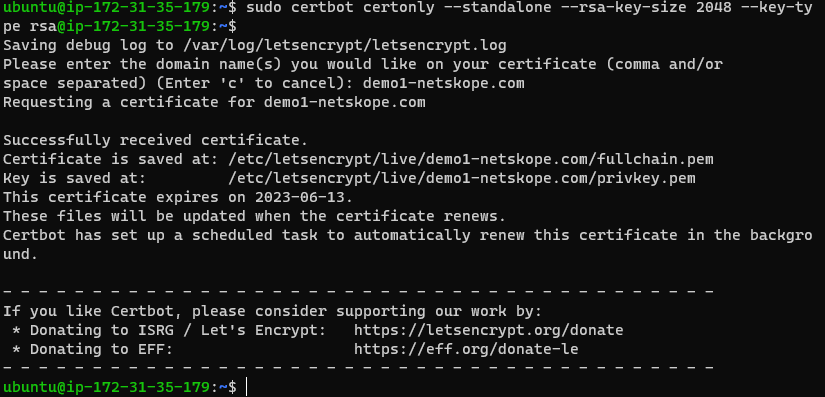
Once I added port 80 to AWS I was able to run the command and get my certificate downloaded. In the message it tells you where it placed the two certificates that you need for Cloud Exchange.
- Certificate is saved at: /etc/letsencrypt/live/demo1-netskope.com/fullchain.pem
- Key is saved at: /etc/letsencrypt/live/demo1-netskope.com/privkey.pem
Install certificates for Cloud Exchange to use
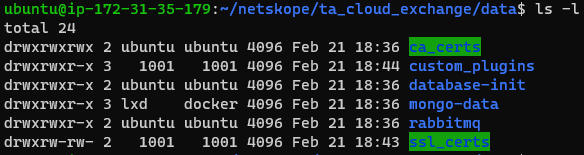
Move into your Cloud Exchange data directory ~/netskope/ta_cloud_exchange/data. You will see two cert folders. The ca_certs folder is for certificates used when talking to on-prem servers that require a SSL certificate to authenticate. The one we want is ssl_certs
Move your newly minted let’s encrypt certs into the ssl_certs folder. In order to get into the ssl_certs directory you will need to be a root user. Use the following command.
- sudo -s
The two files that you will need to replace are cte_cert.crt (w/ fullchain.pem) and cte_cert_key.key (w/ privkey.pem).

Use the following command to do that. As you can see from the command I used, I am still in the folder ~/netskope/ta_cloud_exchange/data/ssl_certs.
Note: you will need to replace demo1-netskope.com with your path.
- cp /etc/letsencrypt/live/demo1-netskope.com/fullchain.pem fullchain.pem
- cp /etc/letsencrypt/live/demo1-netskope.com/privkey.pem privkey.pem
Remove the Cloud Exchange default cte_cert.crt and cte_cert_key.key files from the ssl_certs directory.
- rm cte_cert.crt
- rm cte_cert_key.key
Change the name of the newly copied files to the names that Cloud Exchange will be looking for.
- mv fullchain.pem cte_cert.crt
- mv privkey.pem cte_cert_key.key
The certs won’t have the correct permissions so the last step before the reboot is to change them.
- chmod 666 cte_cert.crt
- chmod 666 cte_cert_key.key
Reboot the system with
- sudo reboot
Long term issues
You might have already guessed it but once the cert expires in 90 days you will need to redo coping the certs into this new location. I will update this post once I figure out the cron job steps to do that automatically.


