

This is a guide on how to set up a Splunk instance.
Instructions
-
This procedure was tested on a machine with the following specifications.
MacBook Pro 14-inch, 2021
Apple M1 Pro
Sonoma 14.7.2 -
Please download the following DMG file from the Splunk website. A user registration is required for the download.
https://www.splunk.com/en_us/download/splunk-enterprise.html
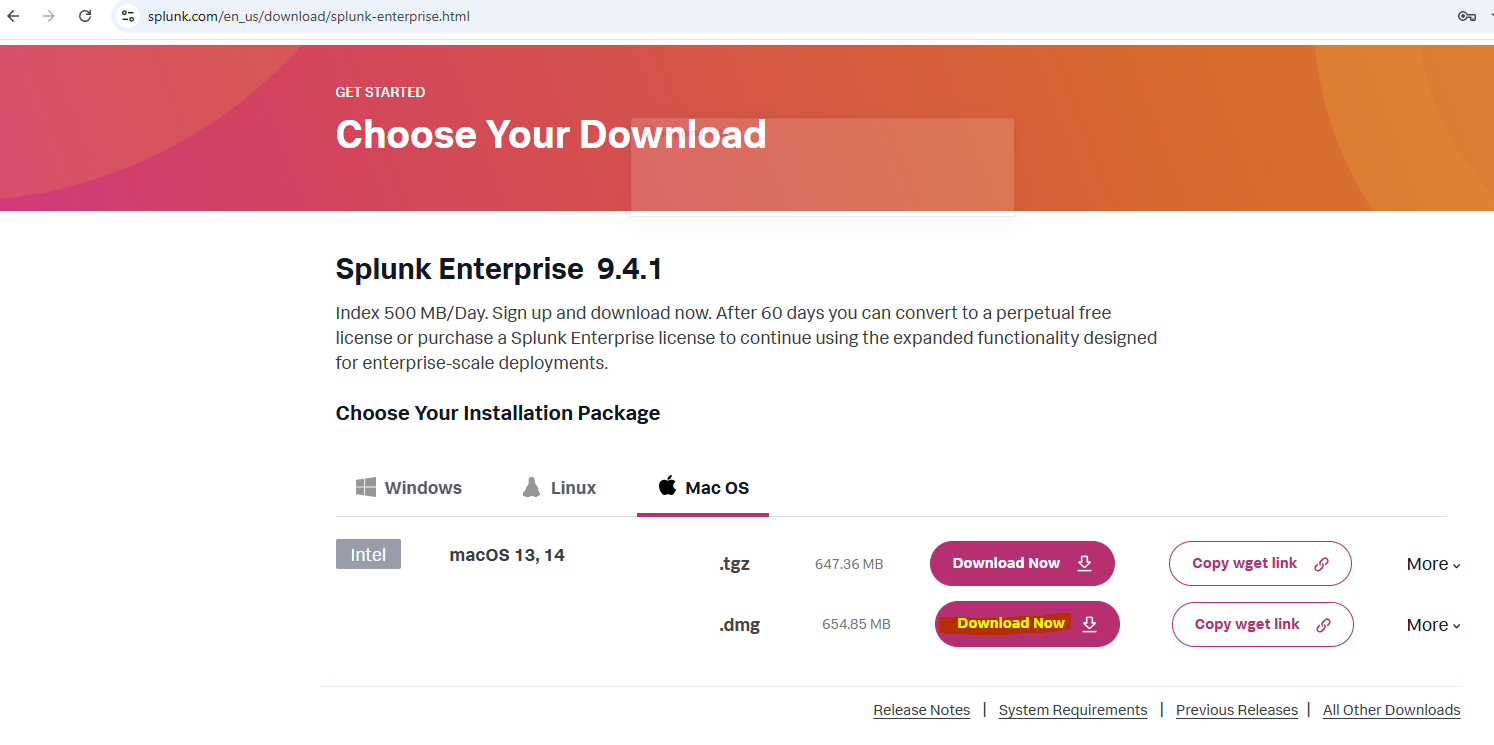
* Splunk does not provide an installer specifically for Apple Silicon. You can install the Intel architecture installer and use Rosetta to run the Intel version of Splunk.
-
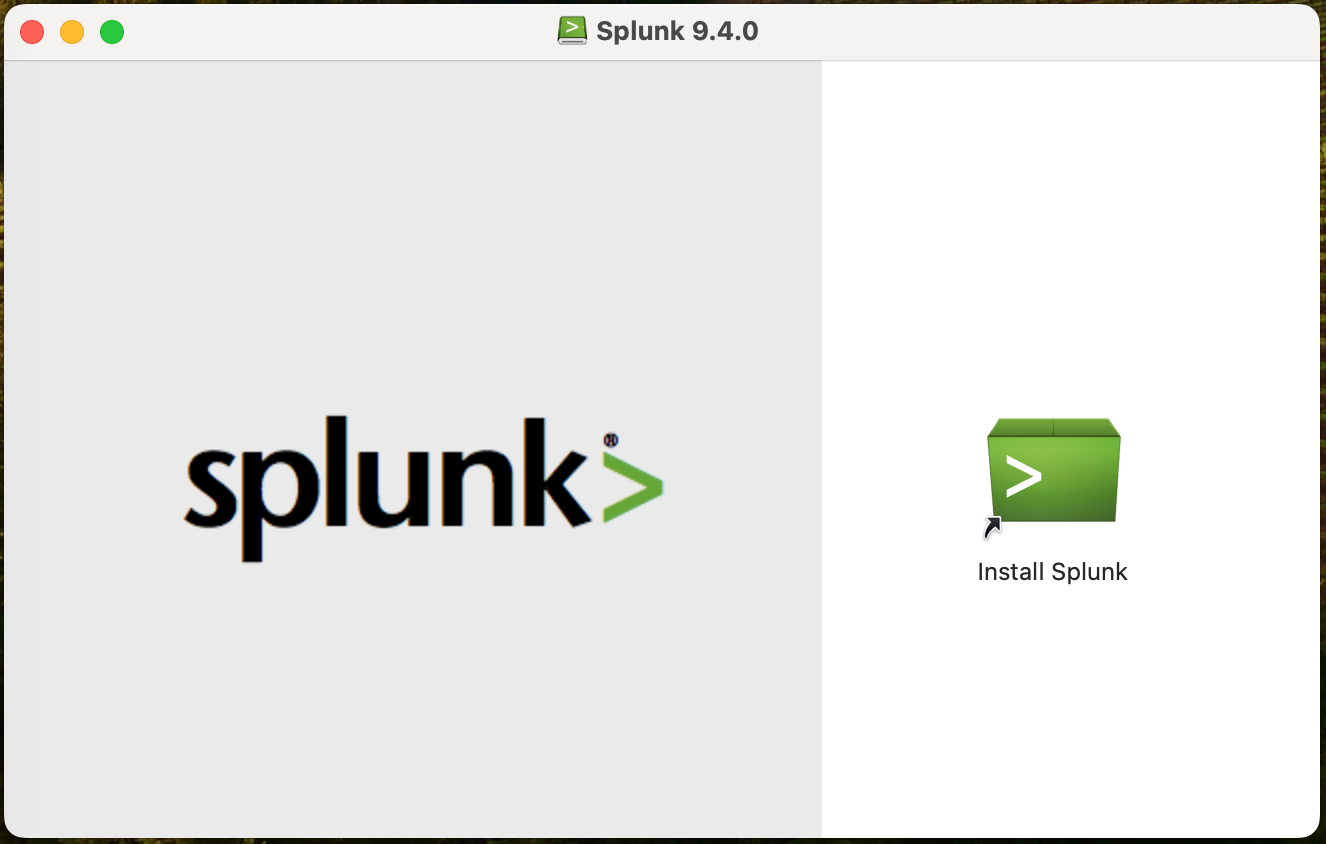
Double-click the downloaded installer to install Splunk.
- Click the "Install Splunk" button to start the installation.
-
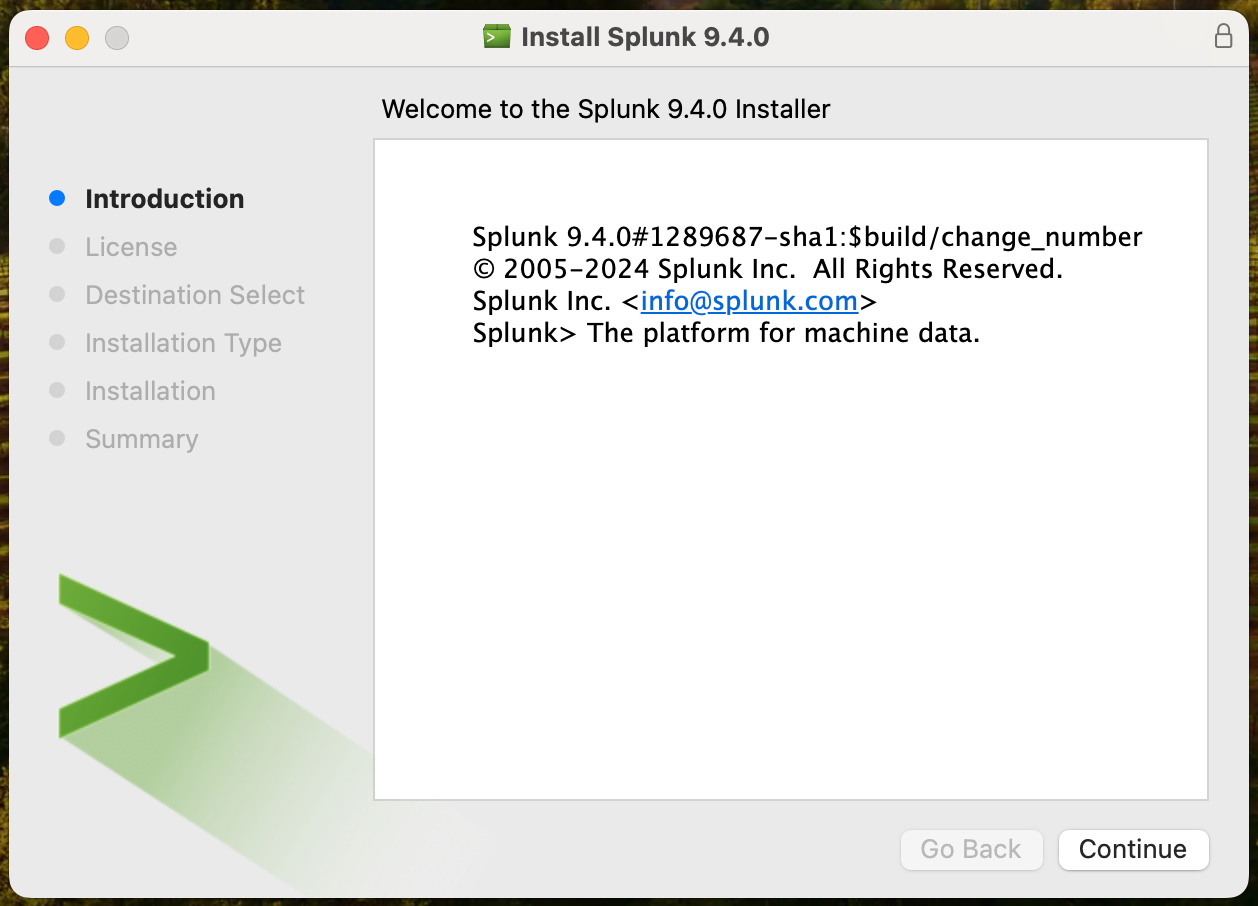
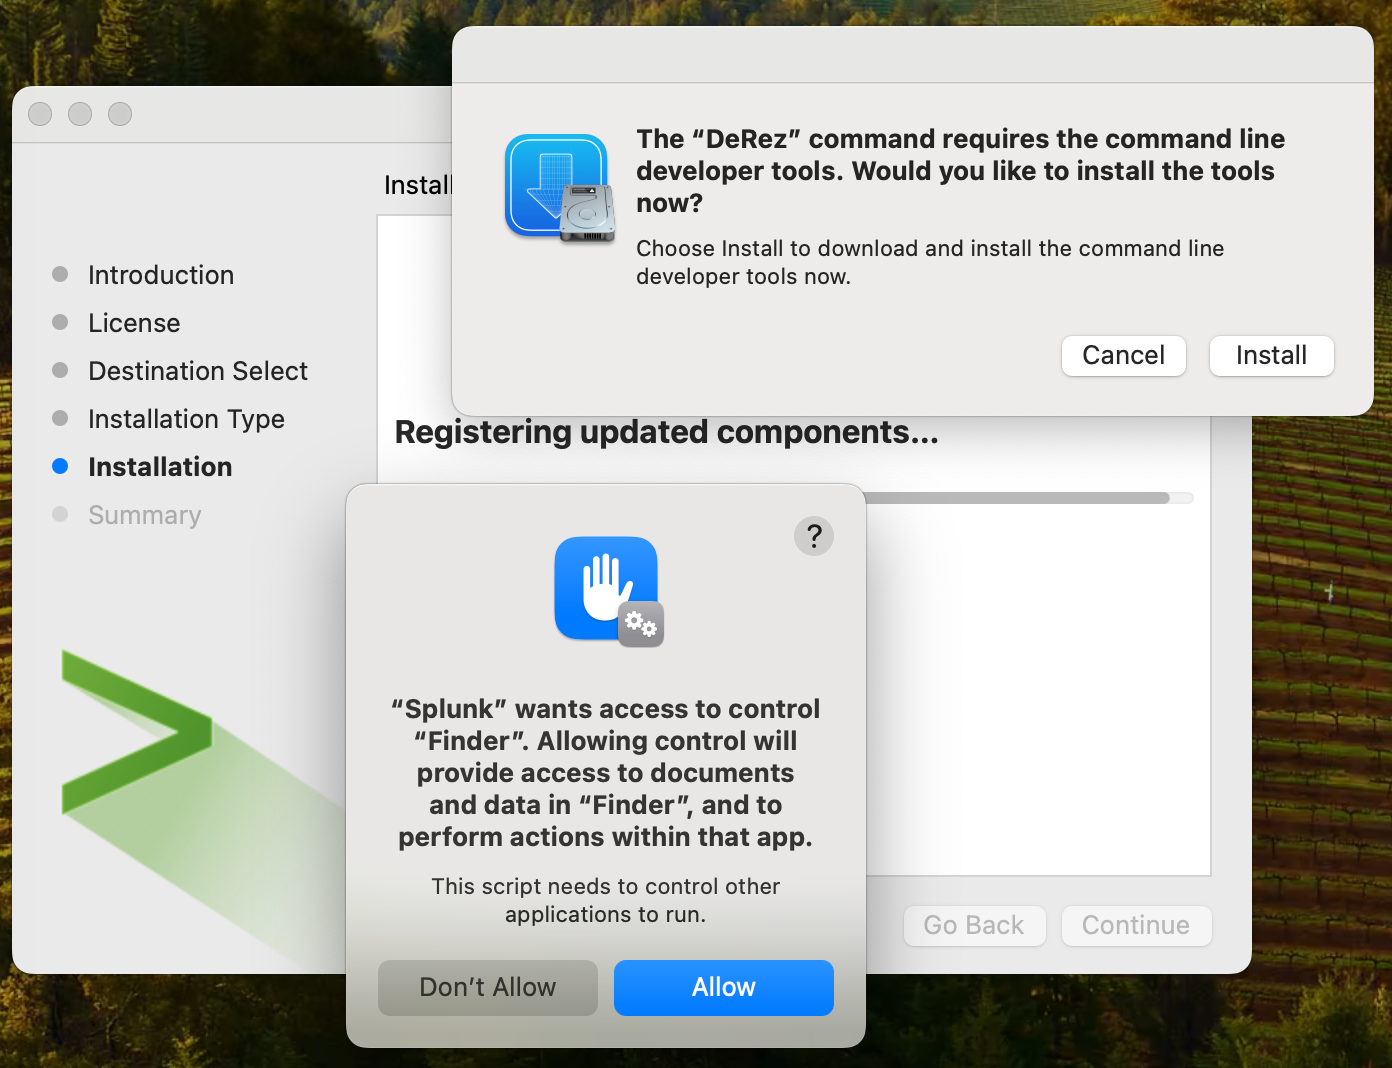
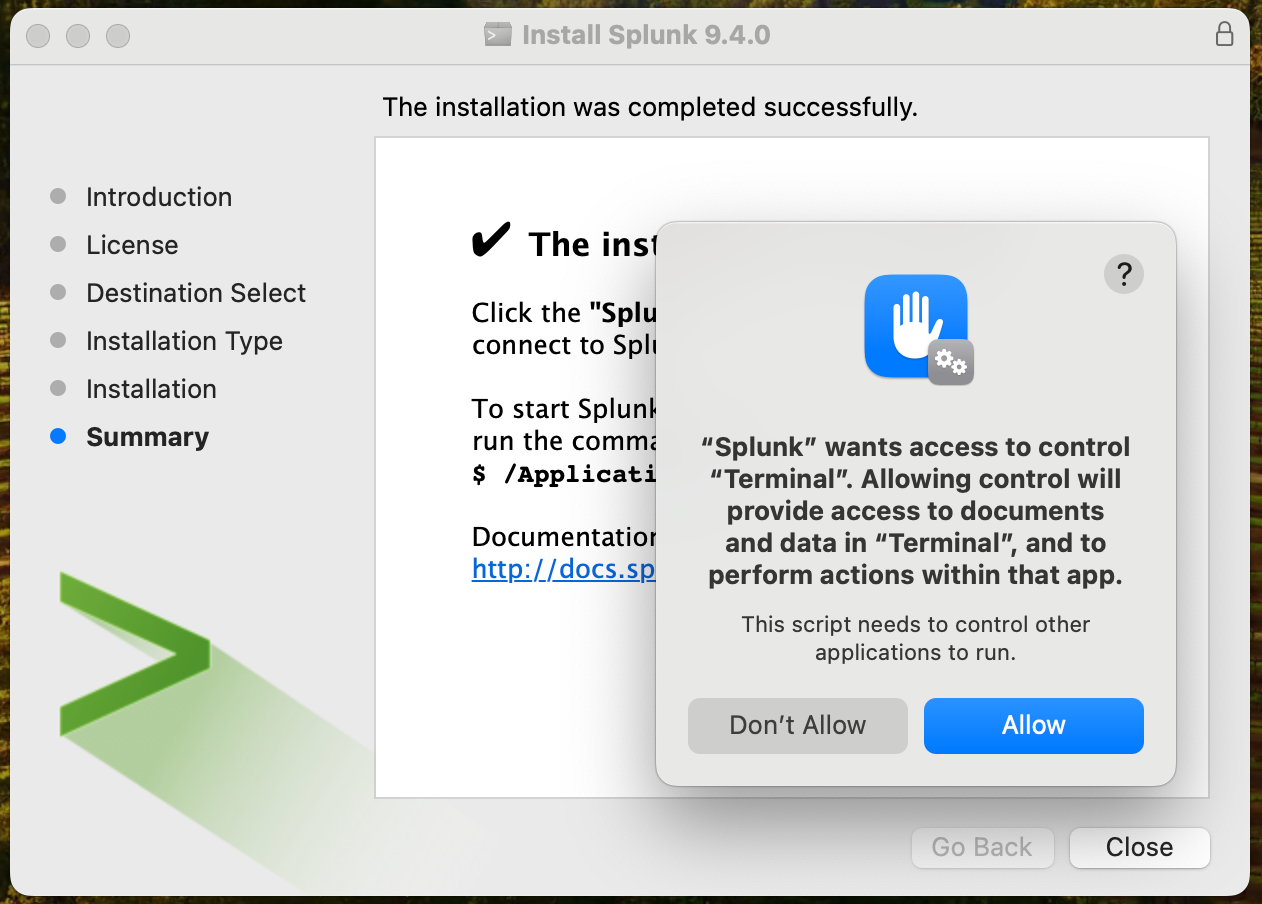
The installation wizard will start, so proceed with all affirmative responses. You may be prompted to grant permissions or install additional applications; make sure to complete all these steps.
-
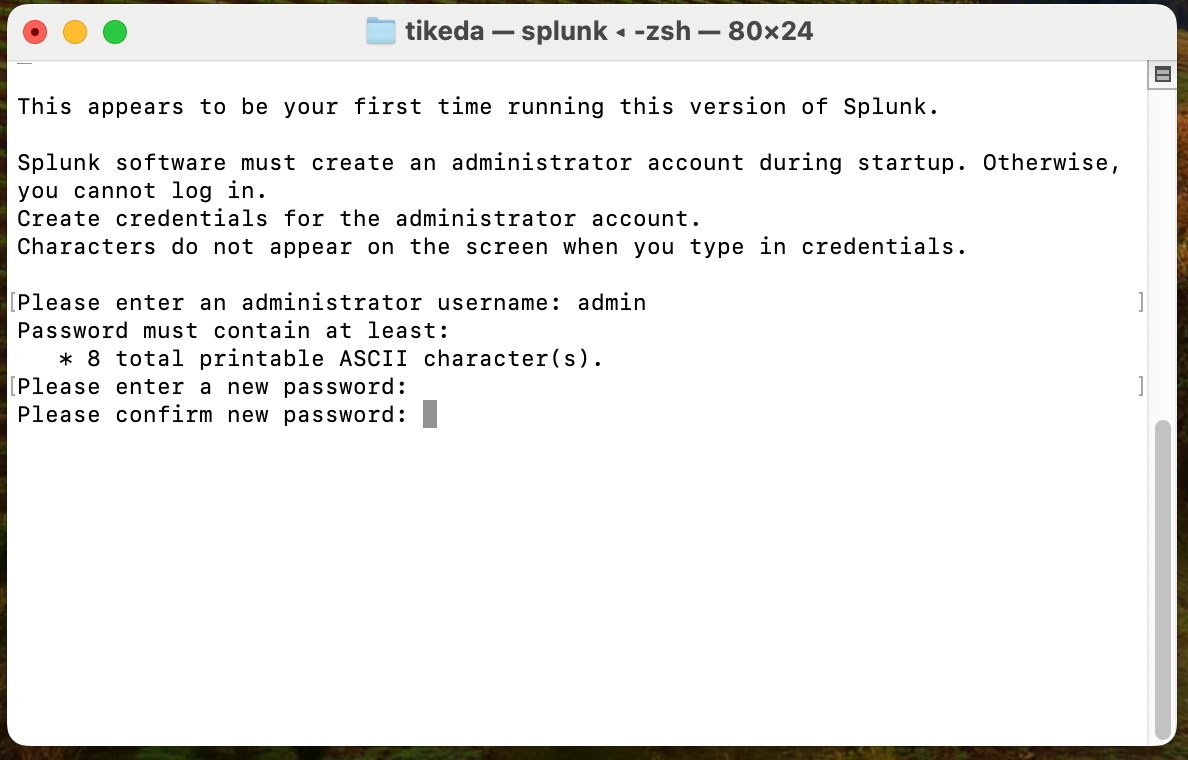
If the installation is successful, the Terminal will launch. Here, you will set the Splunk admin username and password. It’s recommended to use "admin" as the admin username, and you can set any password of your choice.
-
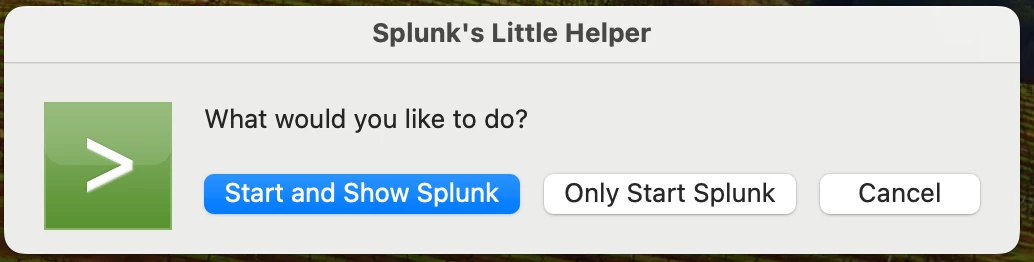
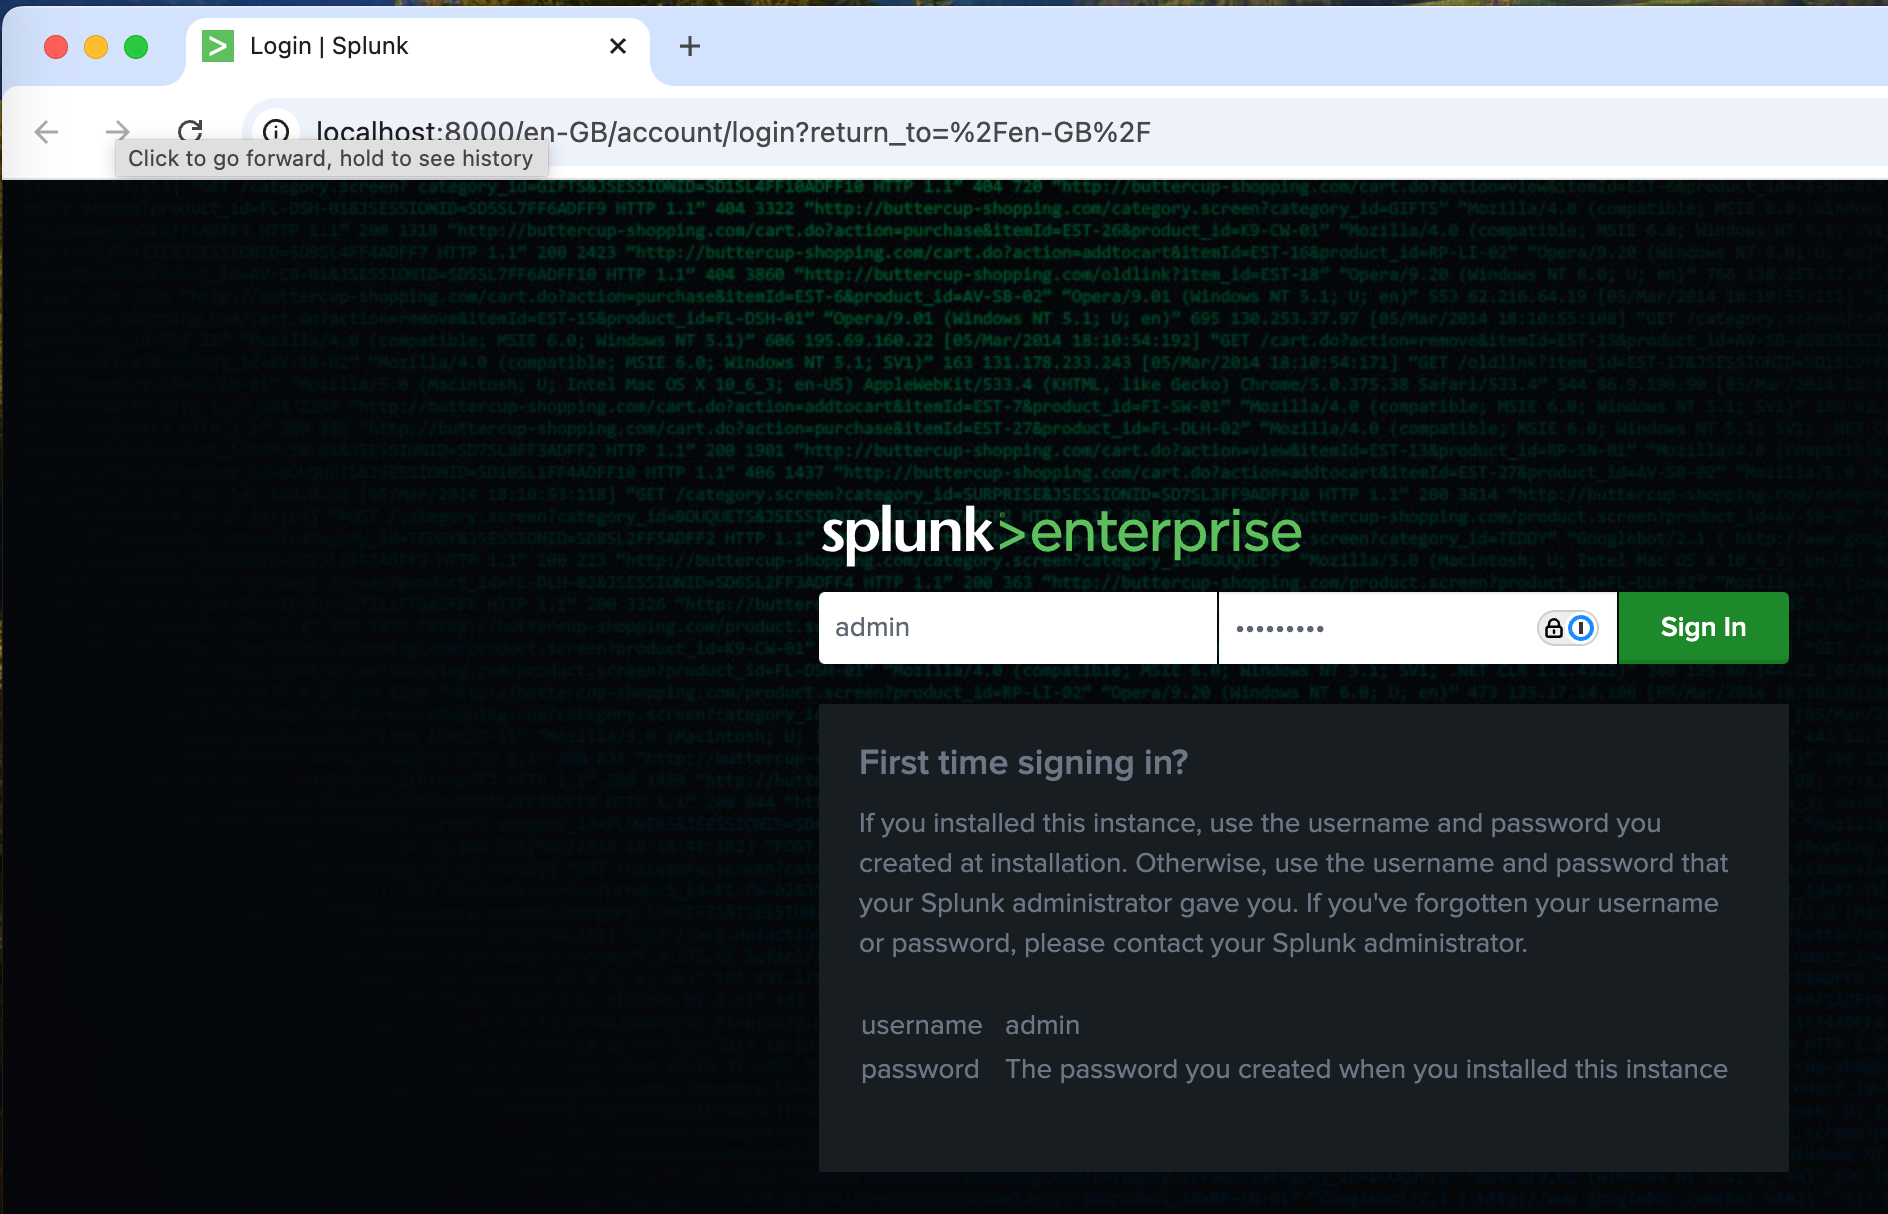
You will be asked if you want to start Splunk; choose to start it. A web browser will automatically open, displaying the login screen. Use the username and password you set earlier to log in.
-
Set the command path for Splunk. If you are using zsh, add the following line to
~/.zshrc.ex)
export PATH="/Applications/Splunk/bin:$PATH"
Load .zshrc
% source ~/.zshrc
check command path
ex)
% which splunk
/Applications/Splunk/bin/splunk
% -
Run the following command to ensure Splunk starts automatically after a reboot:
sudo splunk enable boot-start -
The enterprise license will expire within 60 days. Convert license type from Enterprise to free. You can feed up to 512MB of data every day.
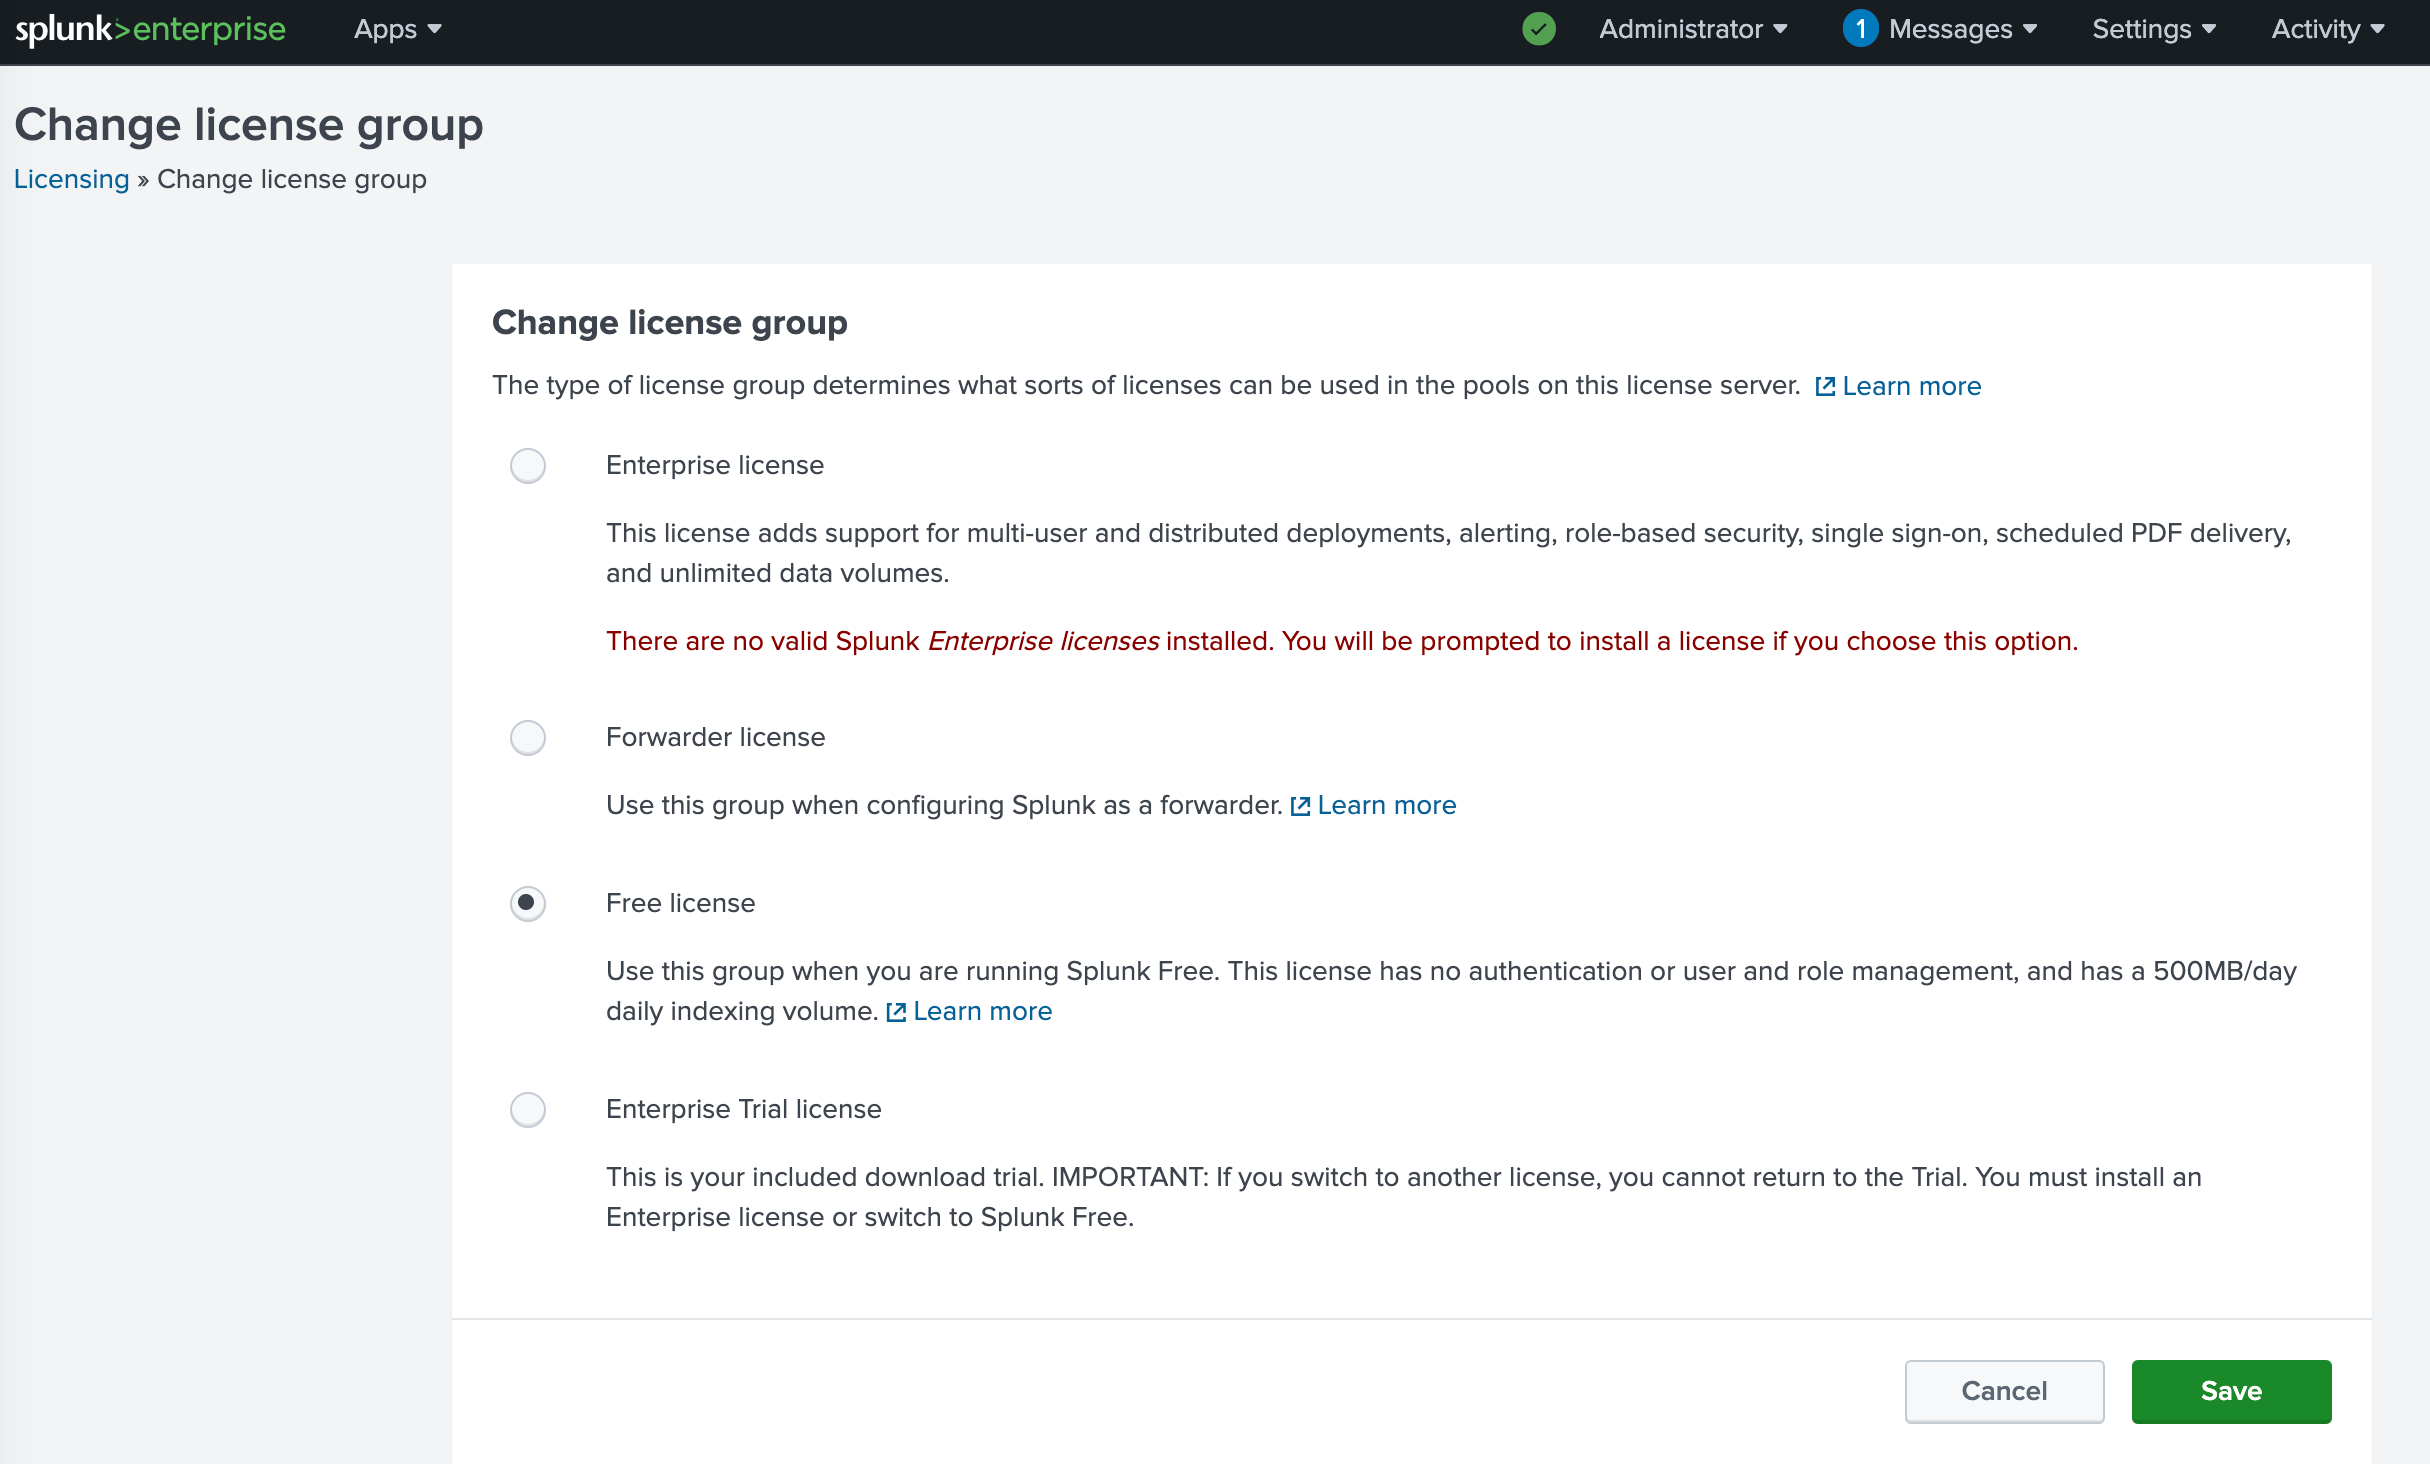
http://localhost:8000/en-GB/ → Settings → Licensing → Change license Group
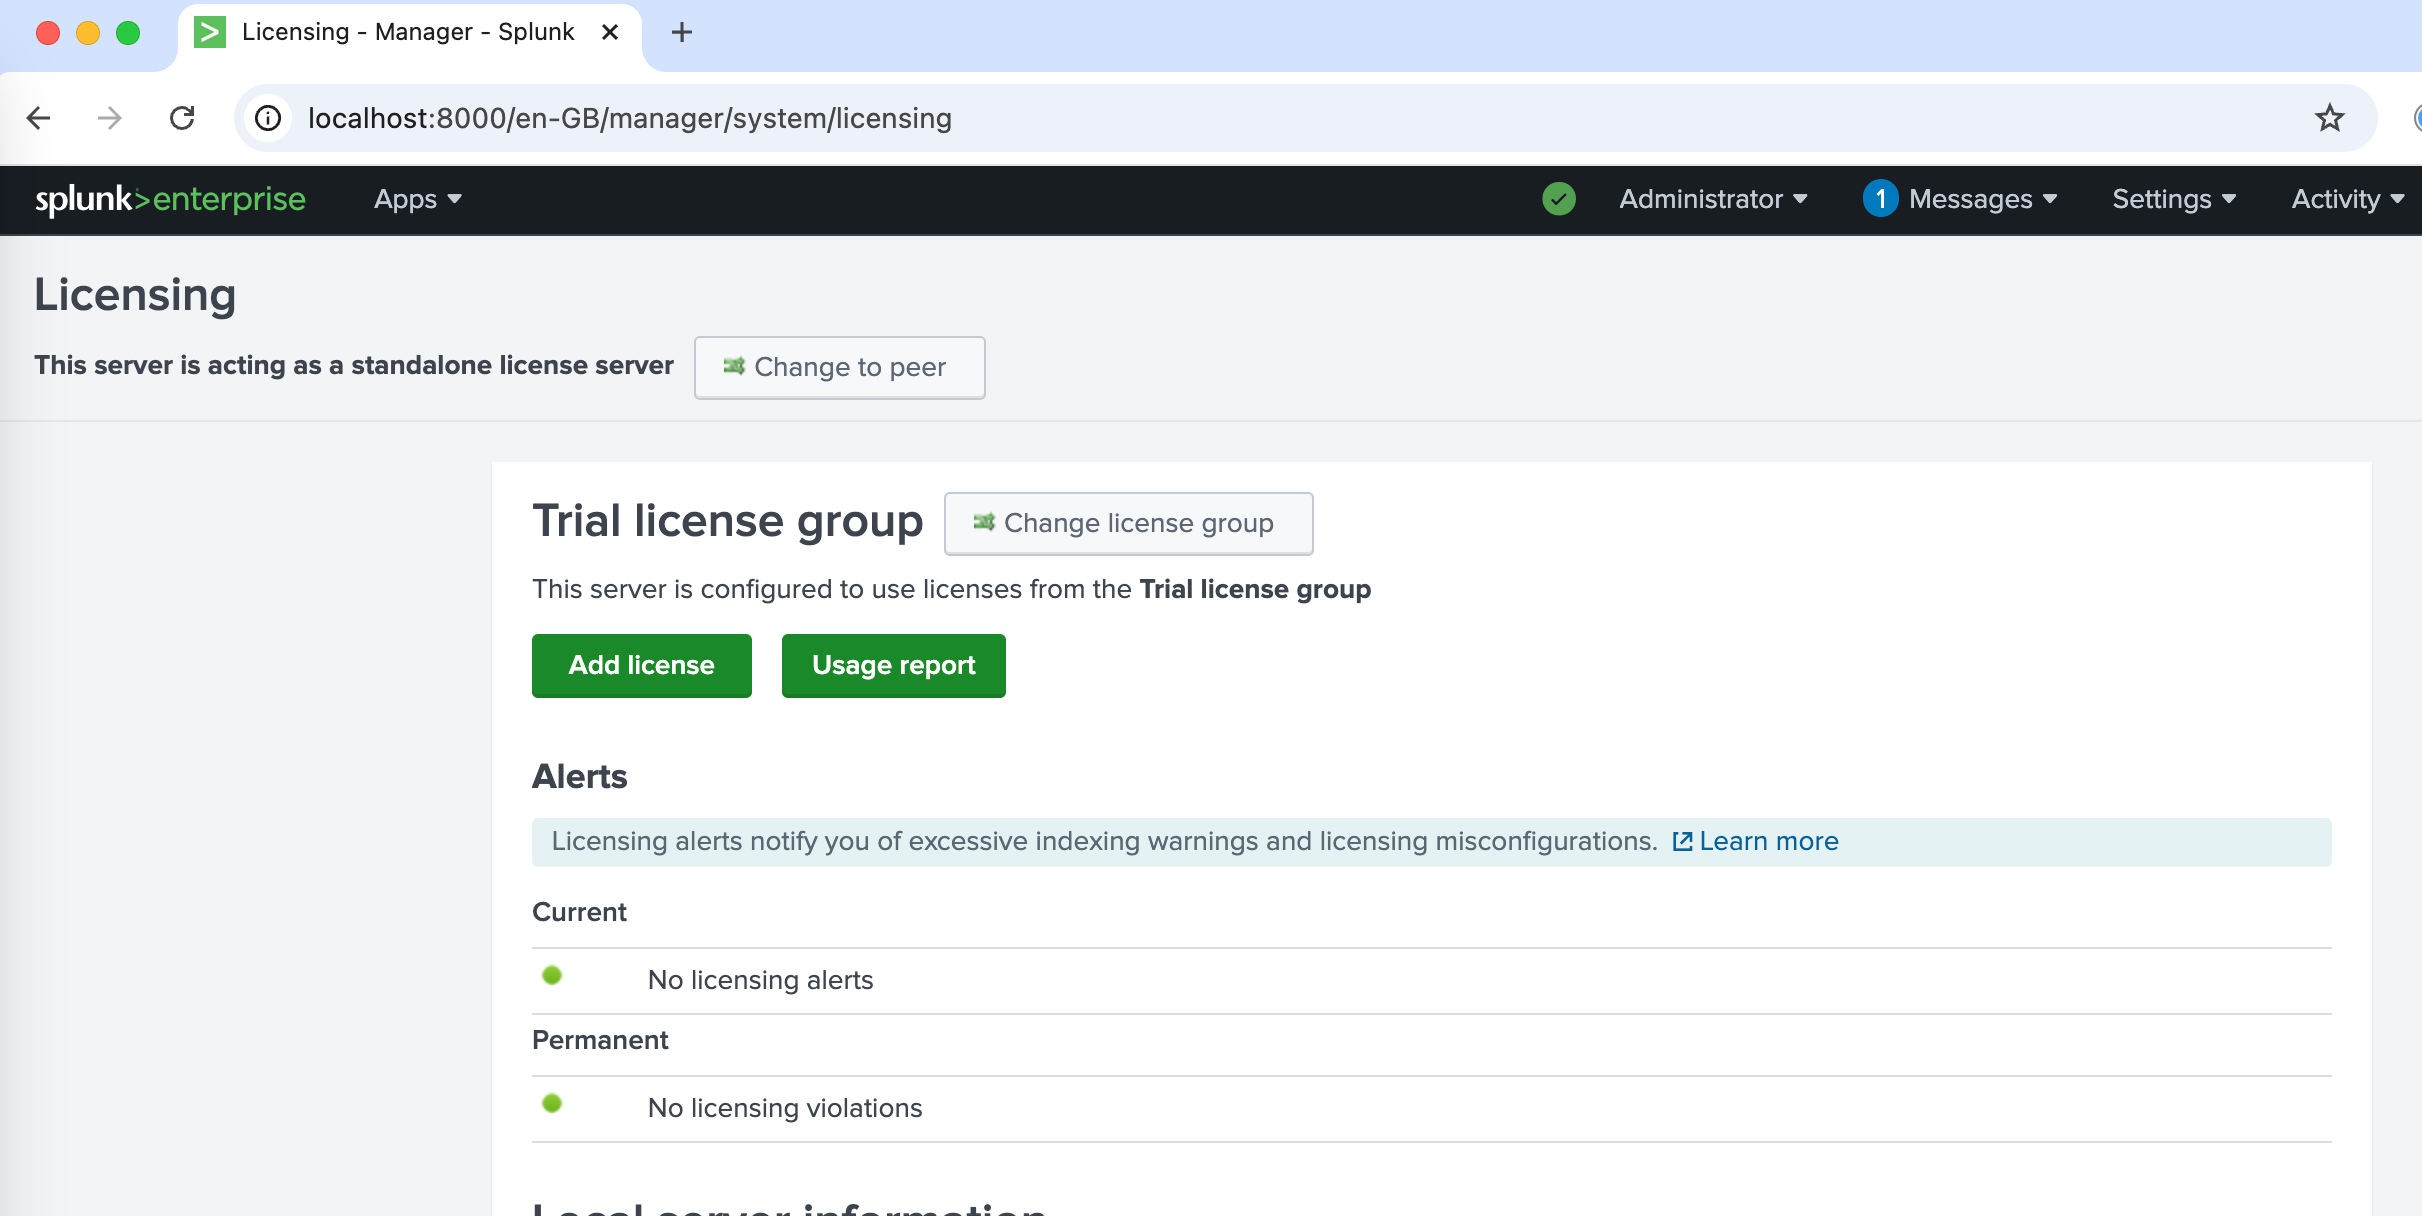
Select “Free License” and click “Save”. Restart Splunk and licese group will be changed to Free.
-
To suppress noisy alert, create the file below. (This is not harmful though)
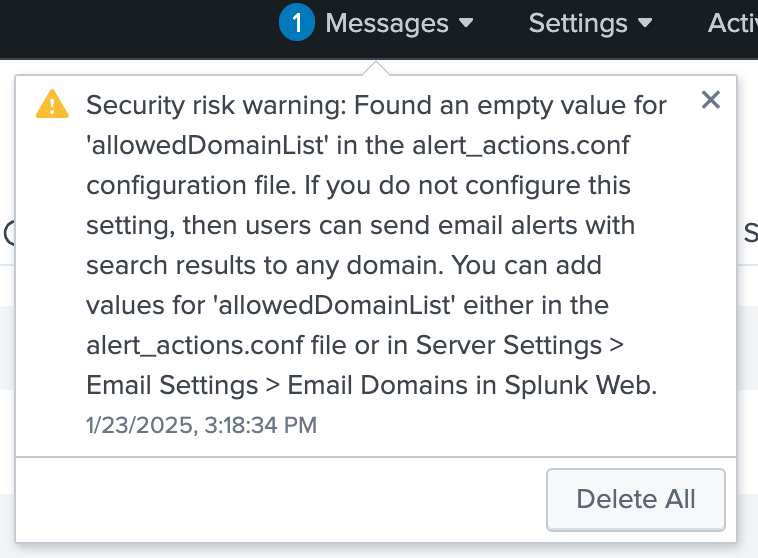
vi /Applications/Splunk/etc/system/local/alert_actions.confadd following setting.
femail] allowedDomainList = netskope.comex)
% cat /Applications/Splunk/etc/system/local/alert_actions.conf nemail] allowedDomainList = netskope.com
-
Restart Splunk. Alerts will be suppressed.
sudo splunk restart