This article is going to cover how to leverage Onelogin for Netskope Client Authentication via SAML, as well as how to use SCIM Provisioning with Onelogin.
SCIM Provisioning
Netskope supports provisioning of users and user groups authenticated via OneLogin. The Netskope SCIM app supports the following:
- Push New Users: New users created through Onelogin will also be created in Netskope
-
Push Groups: Groups created through Onelogin will also be created in Netskope
- Push Profile Updates: Updates made to the users profile through Onelogin will also be pushed to Netskope
- Push User Deletion: Deleting a user in Onelogin will also delete the user in Netskope
- Push User Suspension: By default a user suspended in Onelogin will be deleted in Netskope, If the provisioning configuration in the Netskope Onelogin App is set to Suspend. If you would like suspended users to continue to exist in Netskope, set the provisioning configuration in the Netskope Onelogin app to Do Nothing.
Netskope Configuration
- Login into your Netskope Admin Console.
- Select Settings in the lower left.
- Select Tools > REST API v2.
- Ensure REST API Status is enabled

- Select New Token and enter an appropriate name.
- Select a token expiry duration (To ensure the security and reliability of your SCIM integration between Onelogin and Netskope select an appropriate expiration period for your API token)
-
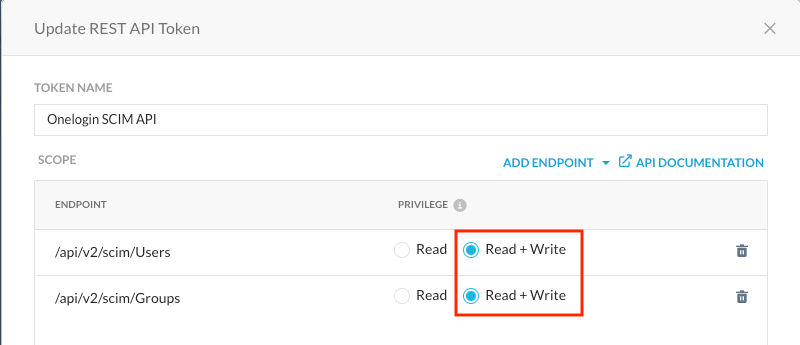
Click the ADD ENDPOINT option and search for SCIM.
Select /api/v2/scim/Users URL and /api/v2/scim/Groups URLs
Use the principle of least privilege (PoLP) and ensure this token is only scoped to the above SCIM endpoints and not consolidated with other endpoints.
Modify the permissions of the two endpoints that were just selected to support the Read+Write privilege.
-
When the Success window opens, copy the token to a safe place. This token can not be retrieved in the future. If you lose the token, you must reissue the token again.
Configure Netskope SCIM Provisioning in Onelogin
Configure OneLogin Roles and Mapping
In order to provision groups into Netskope it is necessary to configure Onelogin Mappings and Roles. You may already have Roles created for existing app integrations, but below will walk you through the basics on creating a role and an appropriate mapping.
- Login to the Onelogin Admin Console.
- Click Users > Roles > New Role
- Provide a name which will be the group name provisioned into Netskope.
- Select Save
- Select Users and New Mapping
- Input an applicable condition that must be met in order to assign a user to the role/group. In the example below, I’m using the Department condition.
-
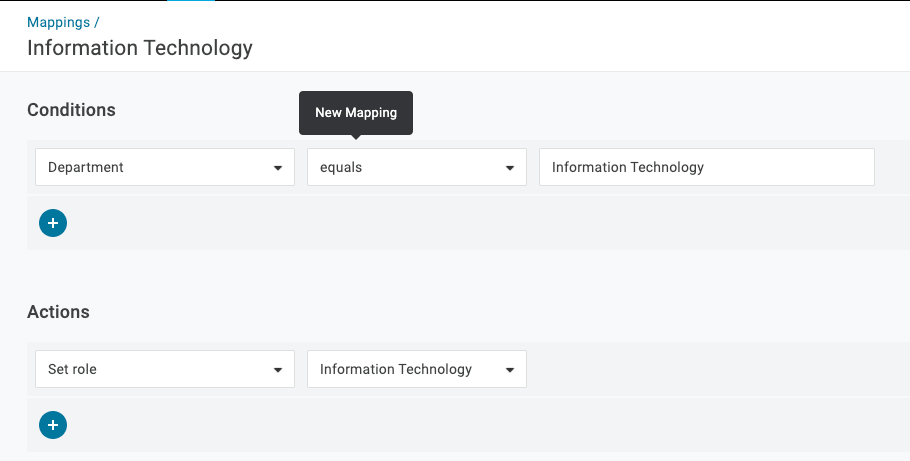
Ensure Actions > Set Role is assigned to the newly created Role.
-
Select Save
-
Ensure all applicable Roles/Mappings are created
Create and Configure the Netskope Onelogin App
- In the Onelogin Admin Console, select Applications > Applications
- Select Add App
- Search for “netskope” and select the Netskope application.

-
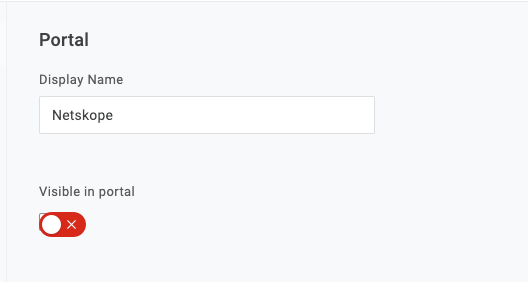
Uncheck Visible in Portal
-
Select Save
-
Select Configuration and scroll down to the API Connection section, paste the SCIM API token generated in Netskope into the SCIM Bearer token. The SCIM Base URL should be https://<netskopetenantname>/api/v2/scim. For example, if your netskope tenant is acme.goskope.com, the SCIM Base URL should be: https://acme.goskope.com/api/v2/scim.
-
Select Enable

-
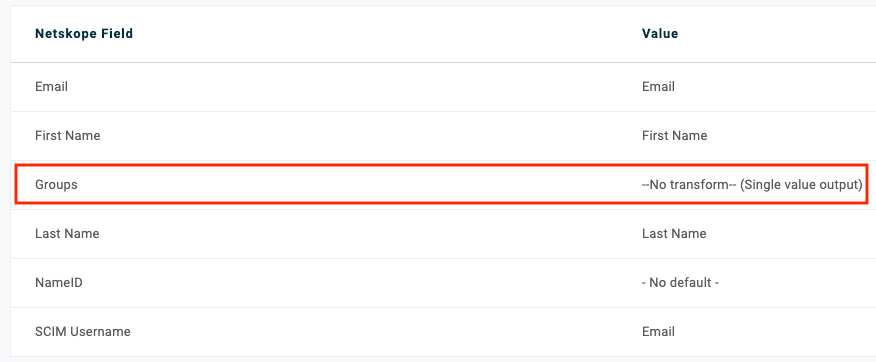
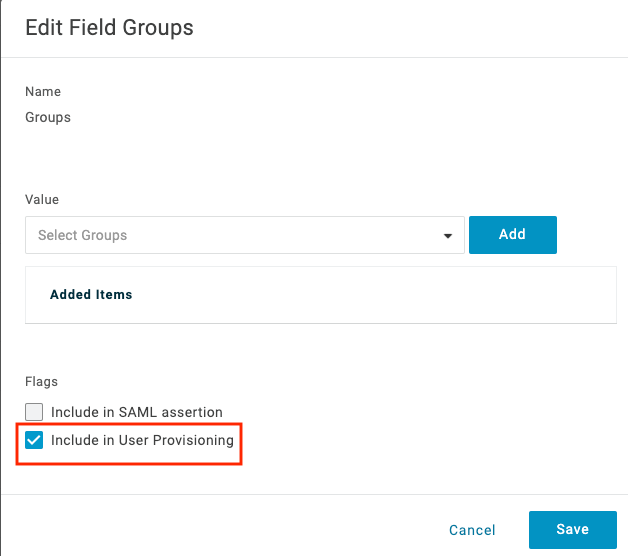
Select Parameters on the Left Pane and select Groups
-
Select “Include in User Provisioning” and Save.
-
Select Rules > Add Rule
-
Include any applicable conditions, if left blank the rule will apply to all users.
-
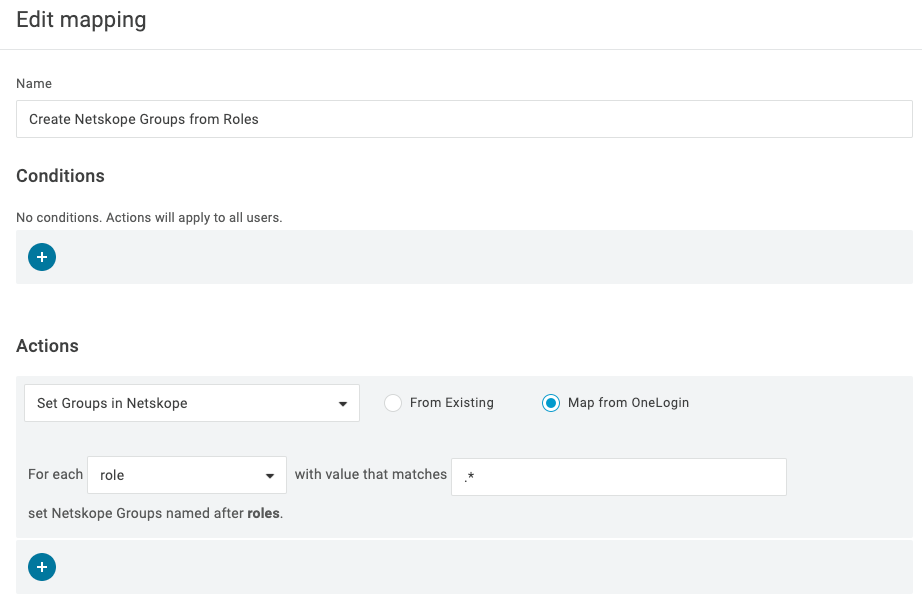
Actions > Set Groups in Netskope > Map from Onelogin
-
For Each Role enter a specific role(s) that should be imported into Netskope, or a wildcard .” can be used to import all groups/roles that match the condition.
-
Recommend using the Check Rule With Users Tool to ensure everything is working as expected and click Save.
-
Next Select the Provisioning tab:
-
Enable Provisioning
-
If you require admin approval for Create, Update and Delete activities select where appropriate.
-
Netskope does not support suspend and will be treated as a delete. If you do not want suspended users deleted, select Do Nothing.
-
Click Save
-
-
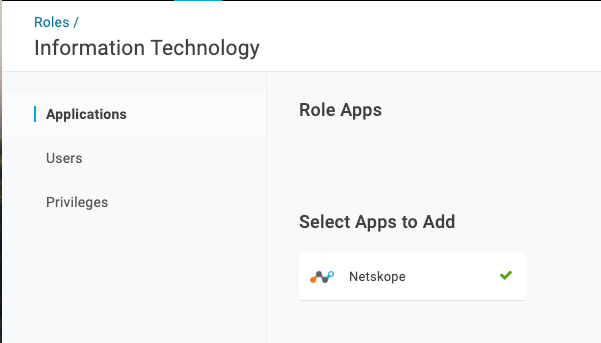
On the top menu bar, select Users > Roles and ensure all of your Roles are assigned to the newly created Netskope app.
-
Select the Role > Applications and the plus sign to assign the Netskope app to the role.
-
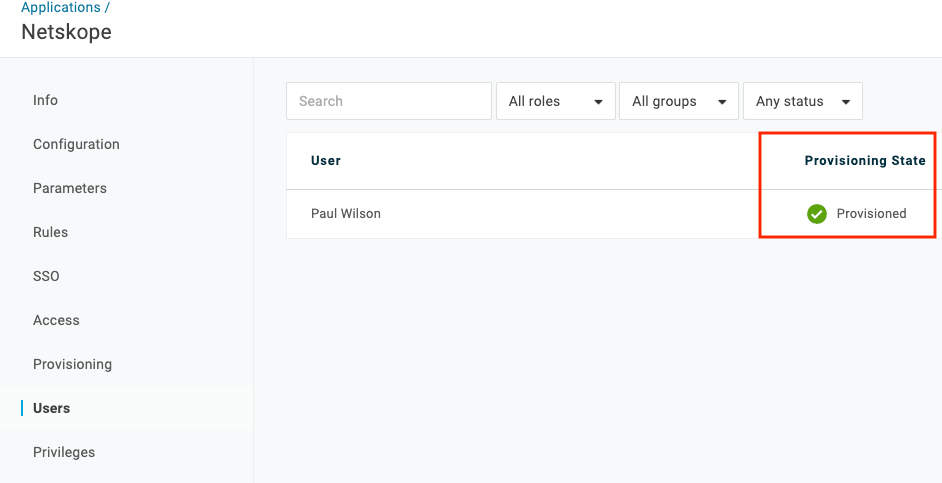
You can ensure users and groups are provisioned in Onelogin by navigating to the Netskope App > Users. If you choose admin approval for Create Activities, ensure that users are approved in order to provision the users.
-
In the Netskope Admin Console, navigate to Settings > Security Cloud Platform > Users and ensure the user is provisioned, along with the appropriate group.
**The OneLogin SCIM integration doesn't currently automatically remove user groups created from OneLogin roles, in order to remove a group, you must unassign the role from the Netskope app and delete the group using Netskope REST API SCIM Endpoints.** More on supported SCIM Actions can be found here.**
Configure SAML Forward Proxy Integration
Configure Netskope SAML Integration
- In the newly created Netskope App in Onelogin, go to the SSO tab and copy the Issuer URI and the SAML 2.0 Endpoint (HTTP) and paste in a text editor. Select View Details under the x 509 Certificate and download the X.509 Certificate.
- Login to the Netskope Admin Console > Settings > Security Cloud Platform > Forward Proxy > SAML > New Account
- Enter a name, select the appropriate Access Method(s) that will use Onelogin for SAML authentication. Paste the SAML 2.0 Endpoint (HTTP) into the IDP SSO URL field and the Issuer URI into the IDP Entity ID field. Upload the x.509 certificate and select Save.
- Select Netskope Settings next to the newly created Forward Proxy configuration
- Copy the SAML Entity ID and the SAML Proxy ACS URL.
- In Onelogin, navigate to the Netskope app > Configuration and paste the SAML Entity ID into the SAML Audience field and paste the SAML Proxy ACS URL into the SAML Consumer URL field.
- Select Save.
- In Netskope ensure the Forward Proxy configuration is enabled.
Validate Netskope SAML Integration
- Deploy the Netskope Client, steps can be found here.
- The Netskope client should prompt for the user to authenticate via Onelogin
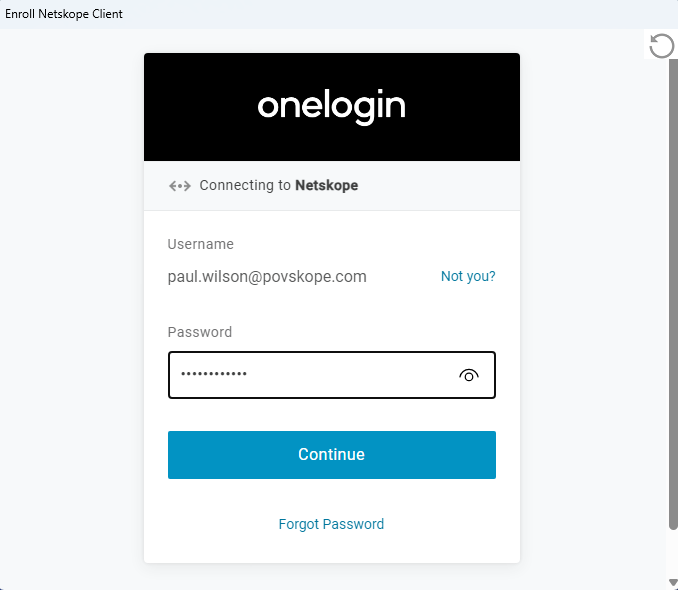
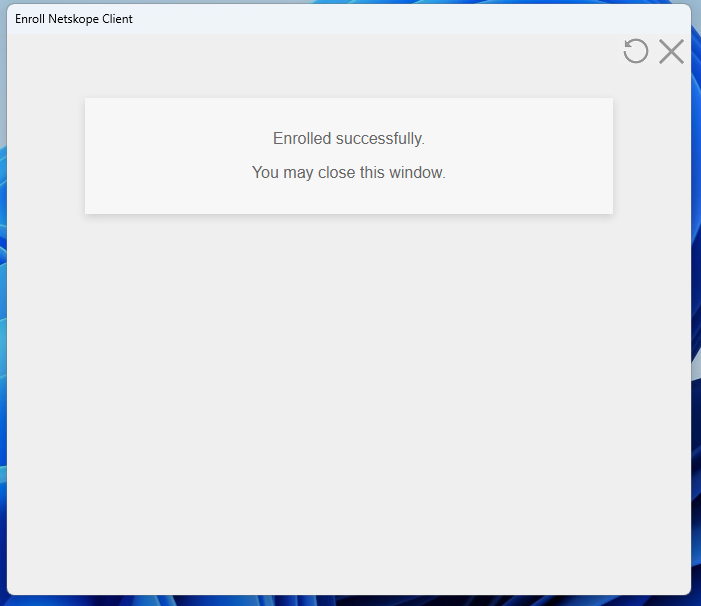
Netskope Client Enrolled Successfully


