
Deploying Enterprise Browser to your Mac Devices
Introduction
Enterprise Browser allows organizations to provide secure access to sensitive applications & content for unmanaged devices or devices not running the Netskope client. Here at Netskope the Global Information Security and Information Technology teams partnered closely to successfully launch this technology internally. Below you will find instructions on how the IT team deployed this solution to our fleet of Mac devices.
Netskope Enterprise Browser application is deployed through Iru/Kandji MDM using a DMG containing a .app file. The deployment process was automated with a pre-install script to audit the app’s presence, download it if needed, and ensure proper installation. Additionally, a bash script handled profile enrollment, enabling a completely zero-touch activation process. This approach significantly streamlined deployment, ensuring minimal user intervention and high success rates.
Iru/Kandji
Iru/Kandji is a purpose-built MDM application that deploys apps and services remotely to macOS devices. To learn more about Iru/Kandji and its MDM platform, visit Iru/Kandji's website.
This article outlines the steps to deploy Netskope Enterprise Browser on macOS devices running Sonoma or later.
Deployment Prerequisites
-
Administrator access to Iru/Kandji
-
Administrator access to Netskope
Complete the following prerequisites for the Netskope Enterprise Browser to successfully install and enroll the profile.
-
Add Global Variables Profile
-
Add Global Variables Script
-
Add Netskope Enterprise Browser Custom App
-
Add Browser Profile Enrollment Script
-
Apply the New Iru/Kandji Library Items
1. Add Global Variables Profile
Login to Iru/Kandji and go to Library > Add Library Item

Select Custom Profile and click Add & Configure.
-
Give a name, ex: Global Variables
-
Copy the Global Variables.mobileconfig from the Iru/Kandji Support site.
-
Paste it to a text editor and save it as a .mobileconfig file
-
Upload the .mobileconfig file.
-
Click Save

2. Add Global Variables Script
Go to Library > Add Library Item

Select Custom Scripts and Add & Configure
-
Give a name, ex: Read Global Variables
-
Copy the Global Variables script from the Iru/Kandji Support site and add it to Audit Script
#!/bin/zsh
FULL_NAME=$(/usr/libexec/PlistBuddy -c 'print :FULL_NAME' /Library/Managed\ Preferences/io.kandji.globalvariables.plist)
EMAIL=$(/usr/libexec/PlistBuddy -c 'print :EMAIL' /Library/Managed\ Preferences/io.kandji.globalvariables.plist)
EMAIL_PREFIX=$(/usr/libexec/PlistBuddy -c 'print :EMAIL_PREFIX' /Library/Managed\ Preferences/io.kandji.globalvariables.plist)
DEPARTMENT=$(/usr/libexec/PlistBuddy -c 'print :DEPARTMENT' /Library/Managed\ Preferences/io.kandji.globalvariables.plist)
JOB_TITLE=$(/usr/libexec/PlistBuddy -c 'print :JOB_TITLE' /Library/Managed\ Preferences/io.kandji.globalvariables.plist)
DEVICE_NAME=$(/usr/libexec/PlistBuddy -c 'print :DEVICE_NAME' /Library/Managed\ Preferences/io.kandji.globalvariables.plist)
SERIAL_NUMBER=$(/usr/libexec/PlistBuddy -c 'print :SERIAL_NUMBER' /Library/Managed\ Preferences/io.kandji.globalvariables.plist)
ASSET_TAG=$(/usr/libexec/PlistBuddy -c 'print :ASSET_TAG' /Library/Managed\ Preferences/io.kandji.globalvariables.plist)
DEVICE_ID=$(/usr/libexec/PlistBuddy -c 'print :DEVICE_ID' /Library/Managed\ Preferences/io.kandji.globalvariables.plist)
BLUEPRINT_NAME=$(/usr/libexec/PlistBuddy -c 'print :BLUEPRINT_NAME' /Library/Managed\ Preferences/io.kandji.globalvariables.plist)
BLUEPRINT_ID=$(/usr/libexec/PlistBuddy -c 'print :BLUEPRINT_ID' /Library/Managed\ Preferences/io.kandji.globalvariables.plist)
UDID=$(/usr/libexec/PlistBuddy -c 'print :UDID' /Library/Managed\ Preferences/io.kandji.globalvariables.plist)
PROFILE_UUID=$(/usr/libexec/PlistBuddy -c 'print :PROFILE_UUID' /Library/Managed\ Preferences/io.kandji.globalvariables.plist)
MODEL_NAME=$(/usr/libexec/PlistBuddy -c 'print :MODEL_NAME' /Library/Managed\ Preferences/io.kandji.globalvariables.plist)
MODEL_IDENTIFIER=$(/usr/libexec/PlistBuddy -c 'print :MODEL_IDENTIFIER' /Library/Managed\ Preferences/io.kandji.globalvariables.plist)
echo "
Global Variables Summary
Full Name: $FULL_NAME
Email: $EMAIL
Email Prefix: $EMAIL_PREFIX
Department: $DEPARTMENT
Job Title: $JOB_TITLE
Device Name: $DEVICE_NAME
Serial Number: $SERIAL_NUMBER
Asset Tag: $ASSET_TAG
Device ID: $DEVICE_ID
Blueprint Name: $BLUEPRINT_NAME
Blueprint ID: $BLUEPRINT_ID
Hardware UDID: $UDID
Model Name: $MODEL_NAME
Model Identifier: $MODEL_IDENTIFIER
Profile UUID: $PROFILE_UUID
"
exit 0
-
Click Save

3. Add Netskope Enterprise Browser Custom App
Go to Library > Add Library Item
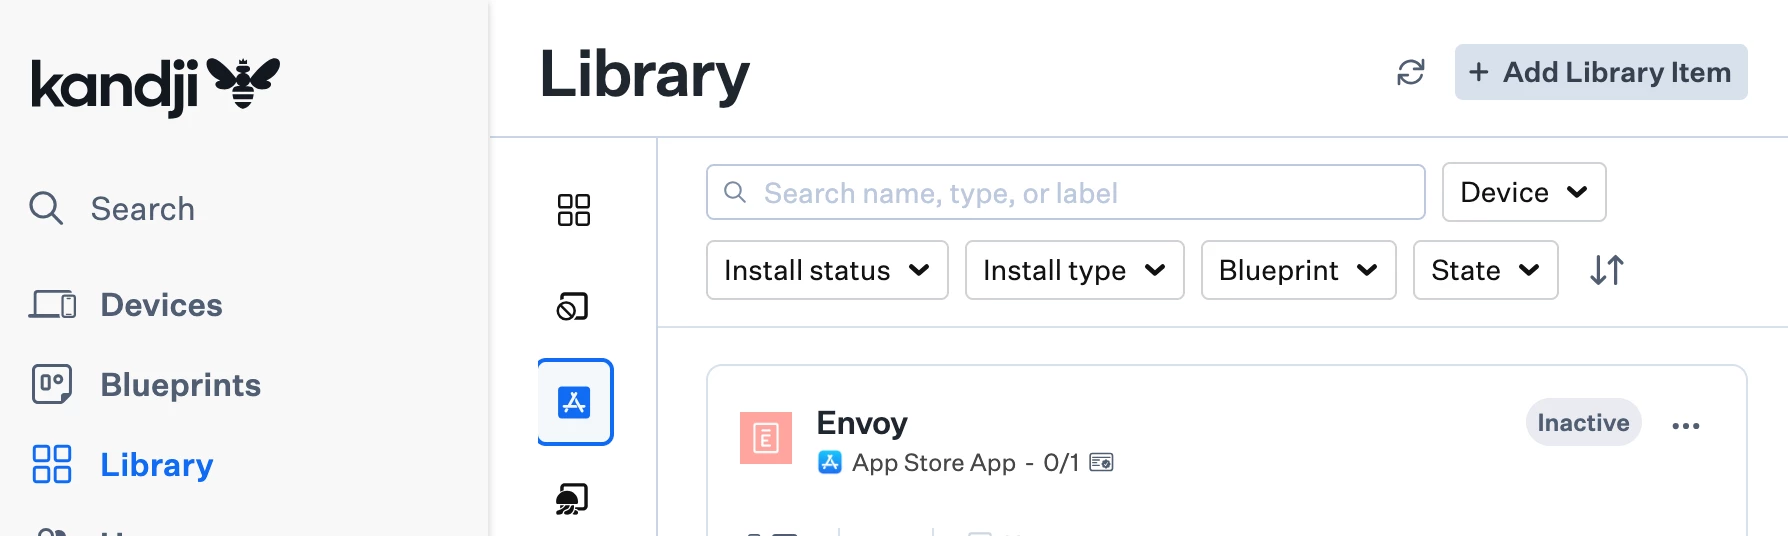
Select Custom Apps and click Add & Configure.
-
Give a name, ex: Enterprise Browser
-
Add below script to Audit Script.
#!/bin/bash
APPPATH="/Applications/Netskope Enterprise Browser.app"
if [ -e "$APPPATH" ]; then
exit 0
else
exit 1
fi
-
For Installation set to Audit and enforce
-
Select Disk Image and upload installer dmg file
-
Click Save

4. Add Browser Profile Enrollment Script
Go to Library > Add Library Item

Select Custom Scripts and click Add & Configure
-
Give a name, ex: Browser Profile Enrollment
-
Add below script to Audit Script.
#!/bin/bash
APP_PATH="/Applications/Netskope Enterprise Browser.app"
# If the application is NOT installed, just echo a message and exit
if [[ ! -d "$APP_PATH" ]]; then
echo "Application not found at '$APP_PATH'."
exit 0 # Do nothing else
fi
echo "Application is installed. Checking for profile directory..."
# Get the logged-in (GUI) user's home directory correctly
CURRENT_USER=$(stat -f "%Su" /dev/console)
USER_HOME="/Users/$CURRENT_USER"
BROWSER_DIR="$USER_HOME/Library/Application Support/Netskope/Browser"
# Find the first directory matching "Profile*"
PROFILE_DIR=$(find "$BROWSER_DIR" -type d -name "Profile*" -print -quit 2>/dev/null)
# Print actual paths being checked
echo "Checking for profile directory at: '$PROFILE_DIR'"
# If a profile directory is found, exit early
if [[ -n "$PROFILE_DIR" ]]; then
echo "Profile directory found: '$PROFILE_DIR'"
echo "Conditions met. Exiting."
exit 0
fi
# If we reach here, no "Profile*" directory was found
echo "No Profile directory found. Proceeding with script execution..."
tenantUrl="xxxxx.goskope.com"
email=$(/usr/libexec/PlistBuddy -c "Print :EMAIL" /Library/Managed\ Preferences/io.kandji.globalvariables.plist 2>/dev/null)
tenantName="xxxxx.goskope.com"
# Ensure script runs with a full environment
export PATH="/usr/local/bin:/usr/bin:/bin:/usr/sbin:/sbin"
#find current user
loggedInUser="$(stat -f "%Su" /dev/console)"
uid=$(id -u "$loggedInUser")
echo "$loggedInUser is the current user"
/bin/launchctl asuser "$uid" sudo -u "$loggedInUser" -- \
"/Applications/Netskope Enterprise Browser.app/Contents/MacOS/Netskope Enterprise Browser" \
--netskope-mp-host=${tenantUrl} \
--netskope-user-email=${email} \
--netskope-tenant-name=${tenantName} \
--no-startup-window &
sleep 15
# Quit the browser
echo "Quitting Netskope Enterprise Browser..."
osascript -e 'quit app "Netskope Enterprise Browser"'
-
Set Execution Frequency to Run every 15 minutes
-
Click Save

5. Apply the New Iru/Kandji Library items to your Blueprint
Navigate to your Blueprint, click Edit assignments
Add these library items to Assignment Map
-
Global Variables Profile (Custom Profile)
-
Global Variables Script (Custom Script)
-
Enterprise Browser App (Custom App)
-
Browser Profile Enrollment (Custom Script)

Click Save
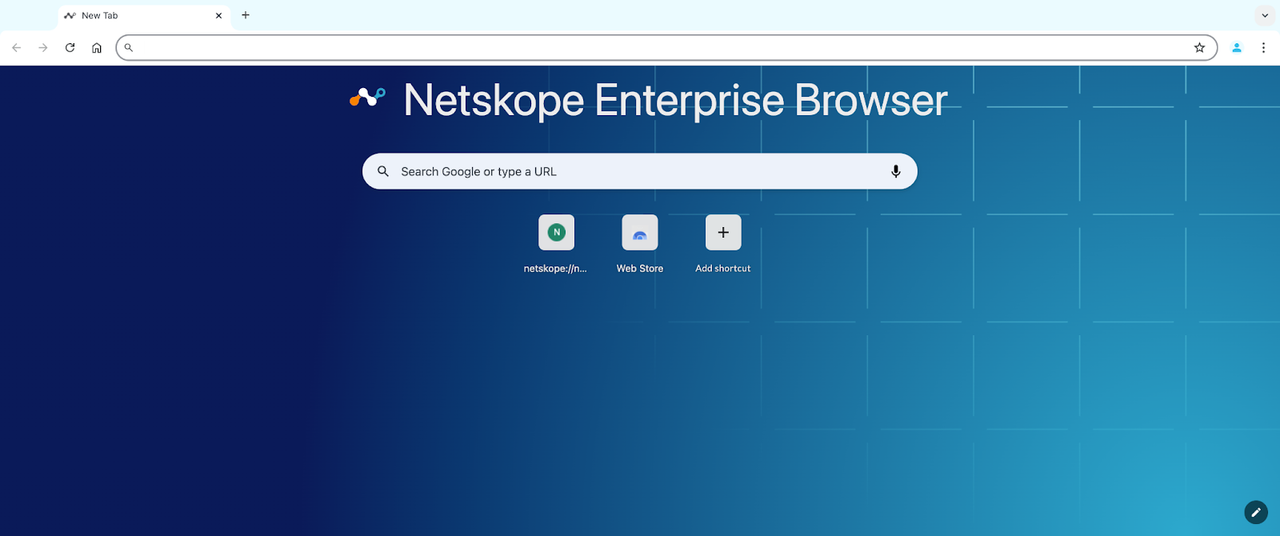
The homepage of Netskope Enterprise Browser should look as shown below.
Please let us know if these instructions were helpful to you and don’t hesitate to leave a comment or question below!


