Overview
Cloud Exchange CTO’s integration with MS Teams gives you the ability to send Netskope Alert messages to MS Teams. Using the Microsoft Incoming Webhook application from the Admin center Cloud Exchange will send messages to a configured Teams channel to notify you when an Alert was seen from Netskope.
Requirements
- CloudExchange 4.2 or newer
- Basic Cloud Exchange setup (Netskope tenant API v1 and v2 setup)
- Netskope plug - Netskope CTO
- Microsoft Teams account
Setup Steps
Microsoft Teams
- Enable Incoming Webhook
- Setup Teams Channel
- Configure Incoming Webhook
Netskope Cloud Exchange
- Setup Netskope Plugins
- Netskope CTO Plugin
- Teams CTO v1.0.1 or greater
- Create Business Rules
- Create Queue Configuration
Verify Integration
- Check CTO Tickets
- Verify tickets are coming into MS Teams
Microsoft Teams Setup Steps
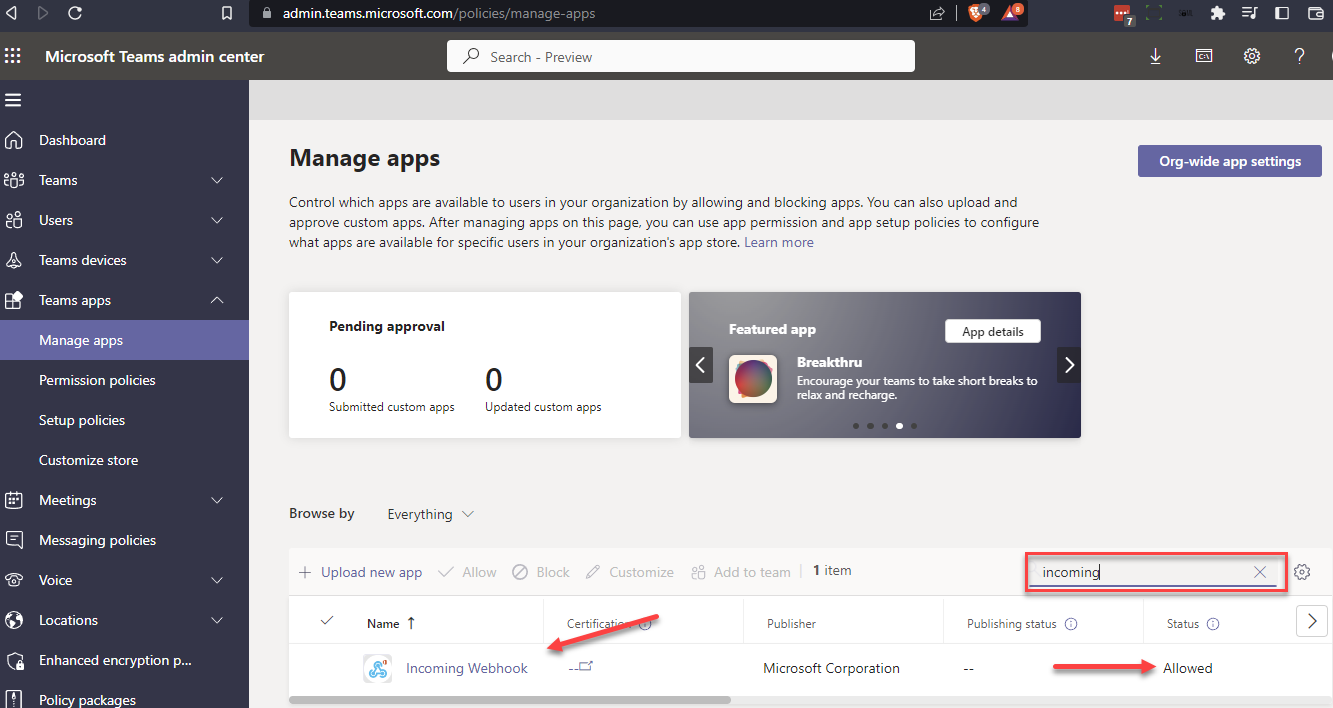
Enable Incoming Webhook
Login to your Microsoft Teams admin interface and go to Teams Apps > Manage apps. Search for Incoming Webhook and allow it if it isn’t already.
https://admin.teams.microsoft.com/policies/manage-apps
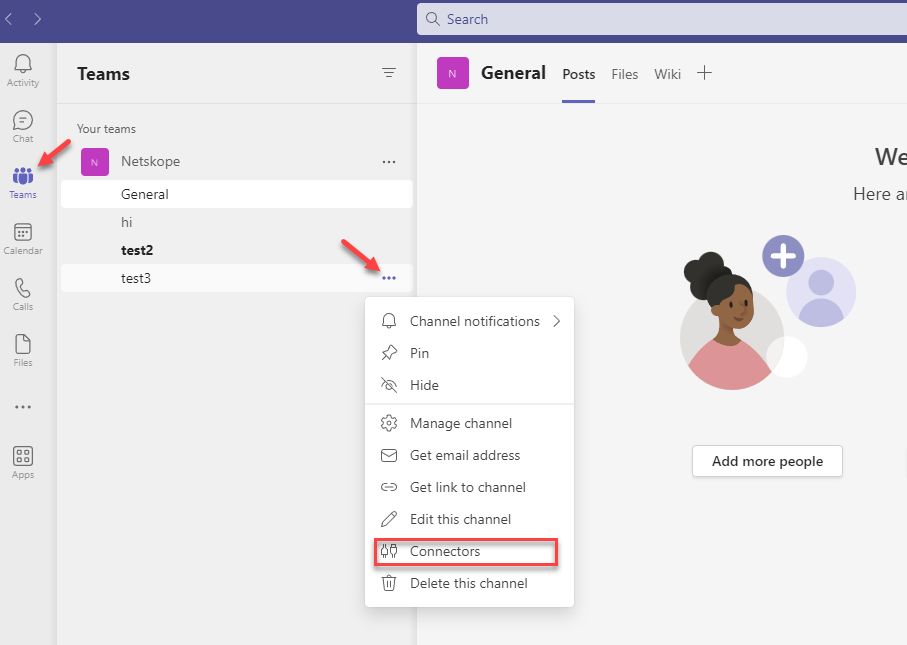
Setup Teams Channel
In the channel that you would like to get messages from Cloud Exchange in, select the ellipsis > Connectors
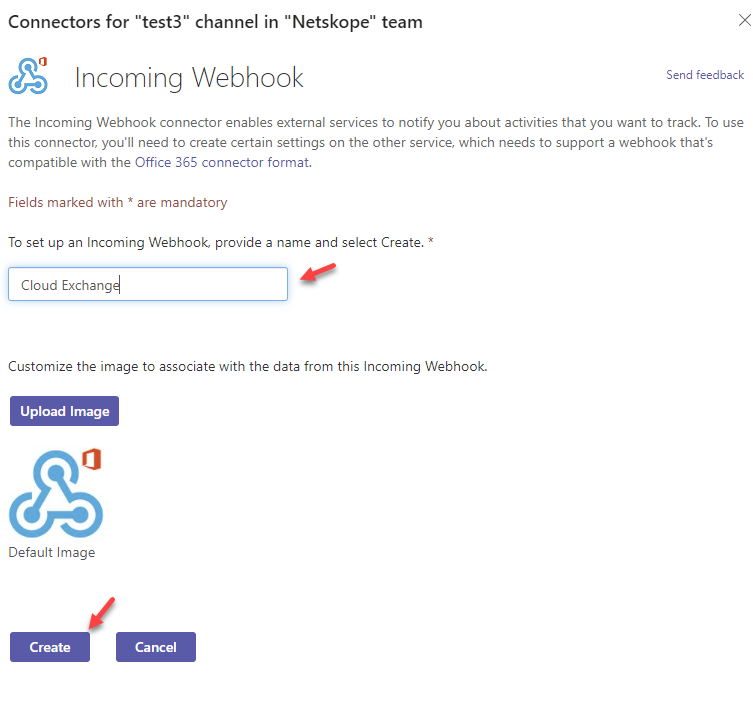
Configure Incoming Webhook
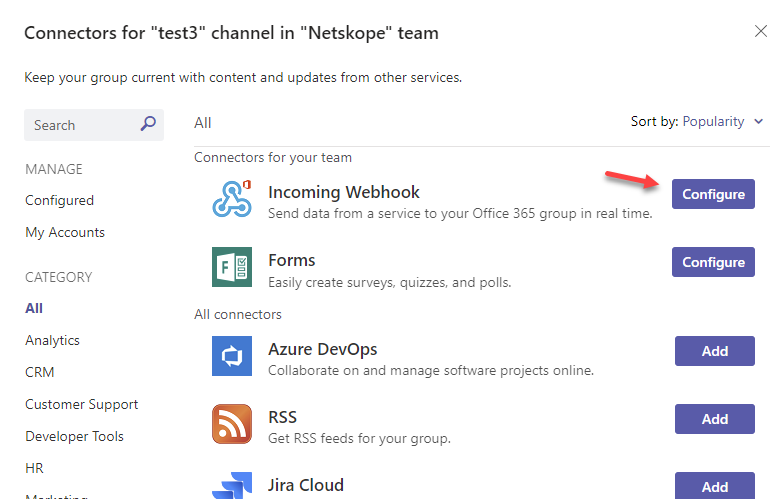
After you give it a name select Create
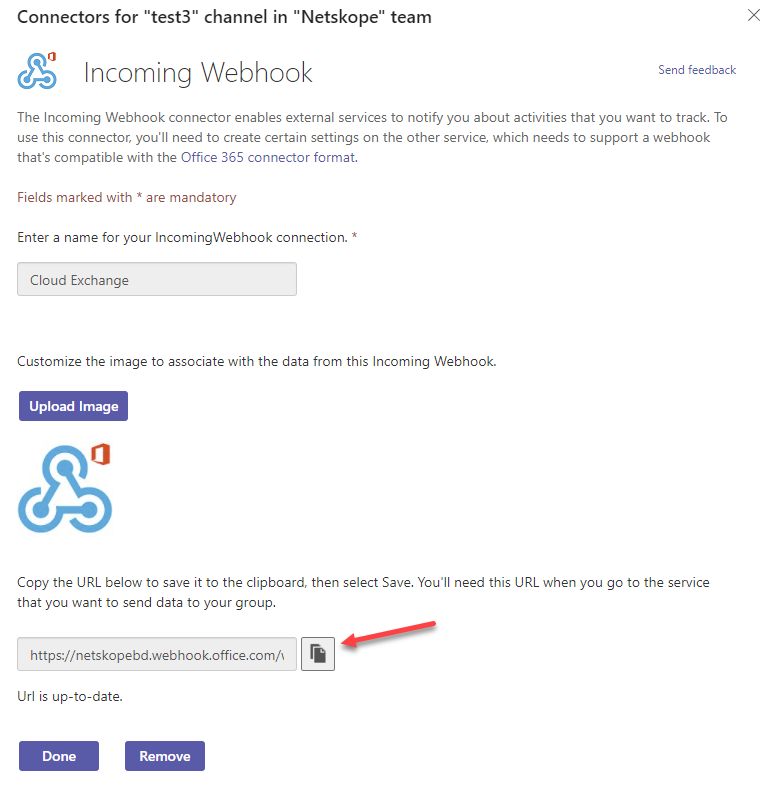
Take a copy of the URL that is presented on this page before selecting Done. You use this URL in the Cloud Exchange CTO Microsoft Teams plugin.
Netskope Cloud Exchange setup steps
Cloud Exchange Plugins
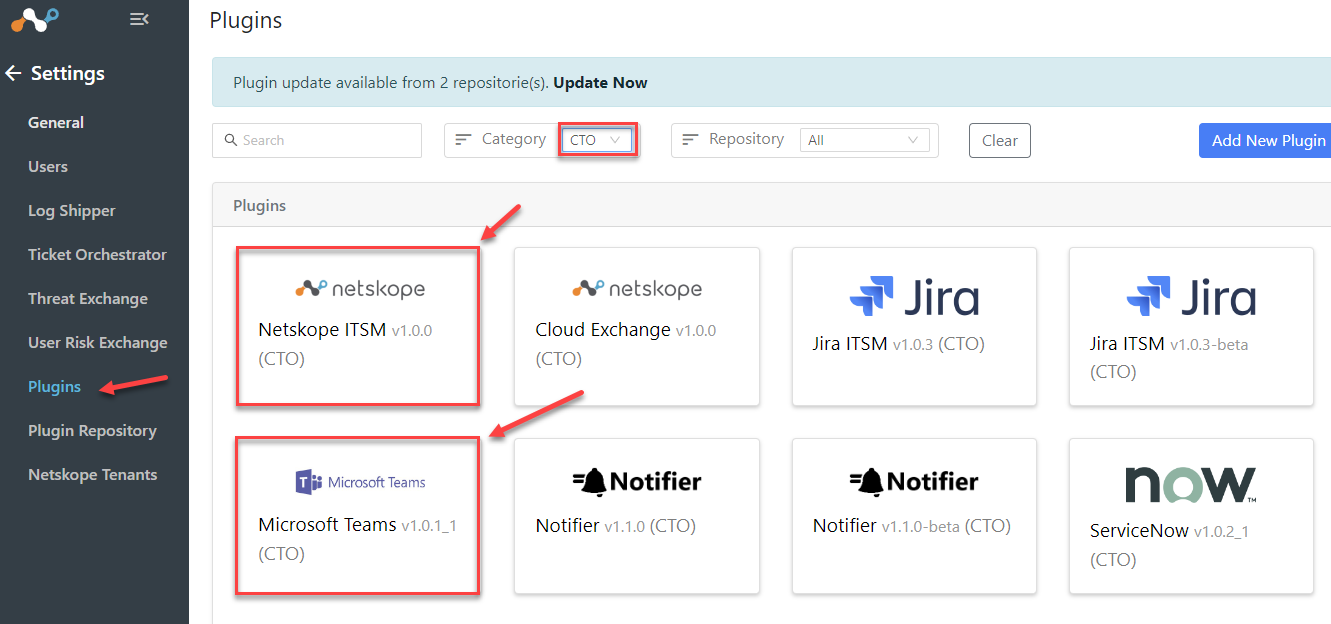
On your Netskope Cloud Exchange go to Settings > Plugins
You will need two plugins configured for this solution. The Netskope ITSM CTO plugin and the Microsoft Teams v1.0.1 CTO plugin. If you need to update your plugins go to the Plugin Repository tab and select ‘check for updates’.
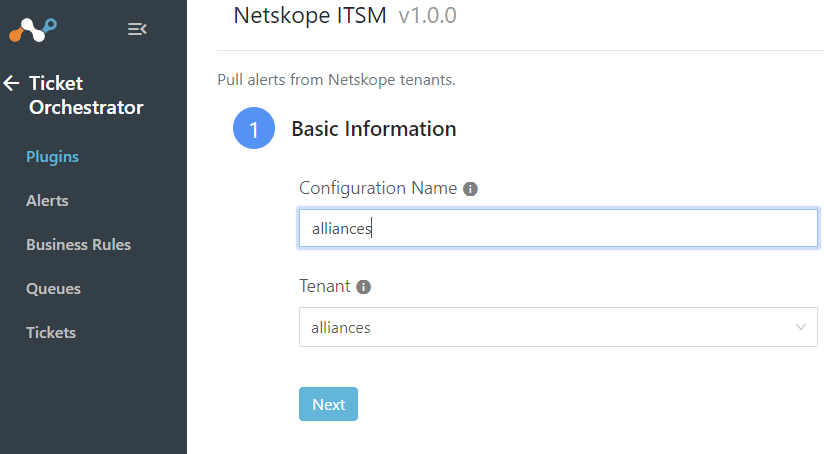
Configure Netskope CTO plugin
Select Netskope ISTM CTO
Name our plugin and select your Tenant
Next > Save
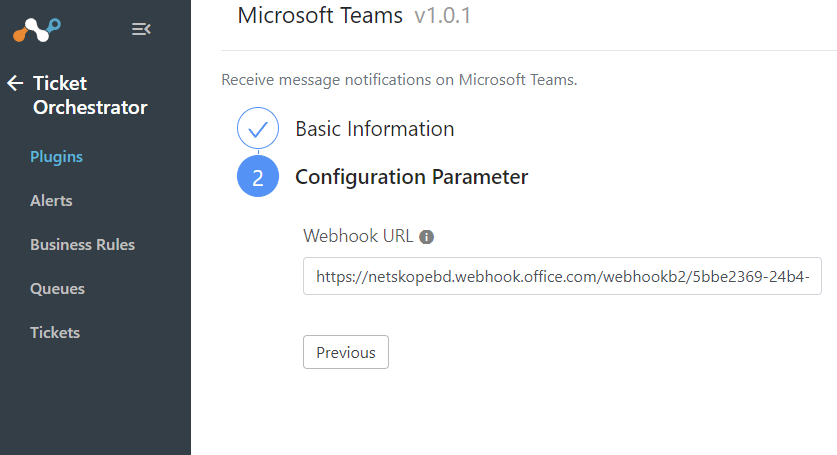
Configure Microsoft Teams CTO plugin
From the plugin page select Microsoft Teams v1.0.1 or greater.
Give it a Configuration Name
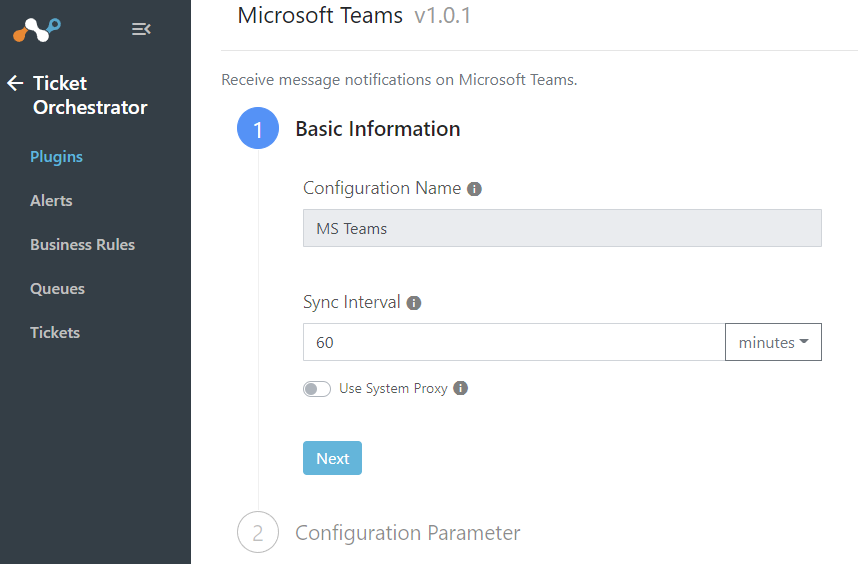
Add the copied Webhook URL
Save
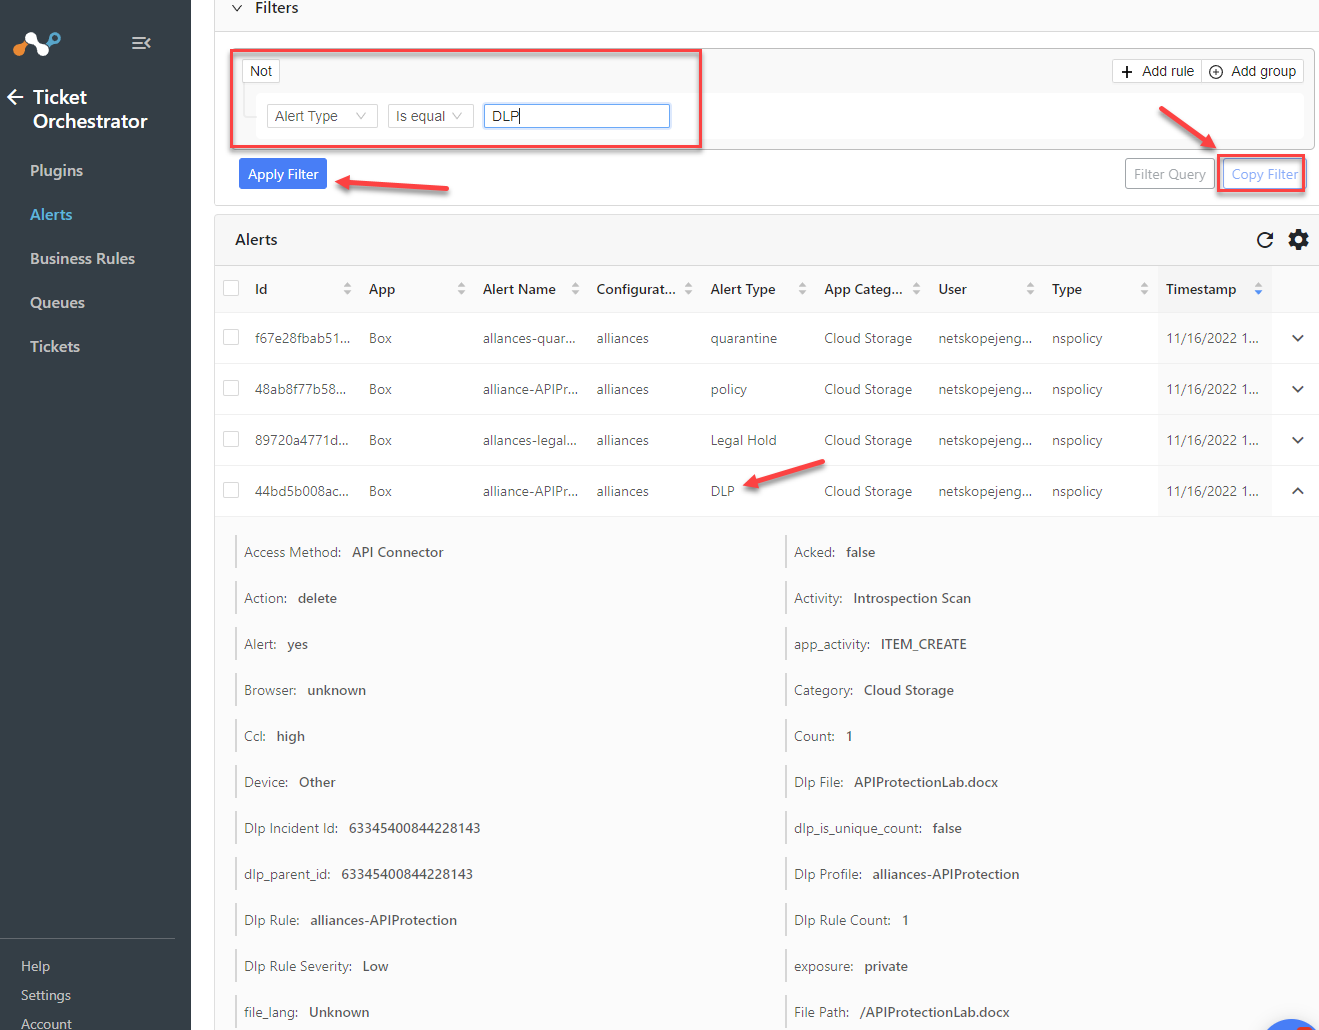
Create a Cloud Exchange Business Rule
On your Cloud Exchange interface go to Ticket Orchestrator > Alerts
This page will list all of the Netskope Alerts that are coming in. You can use the filter on this page to view which alerts will meet the filter before adding it to the business rule. Once you are happy with the filter, Copy Filter
Ticket Orchestrator > Business Rules
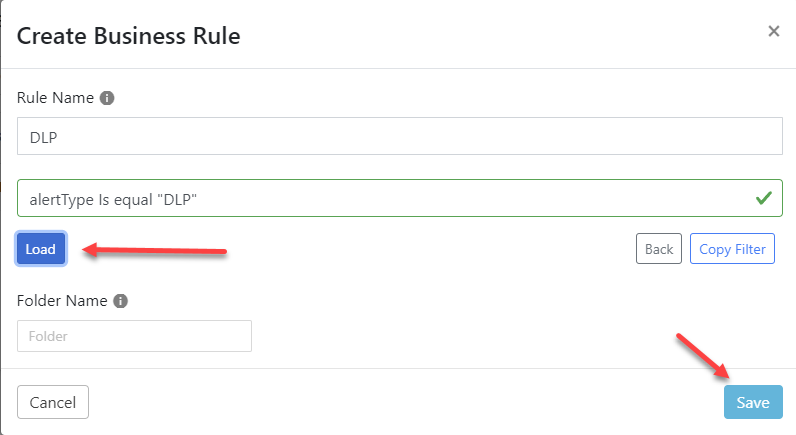
Name your rule, select Filter Query and paste in the rule you copied.
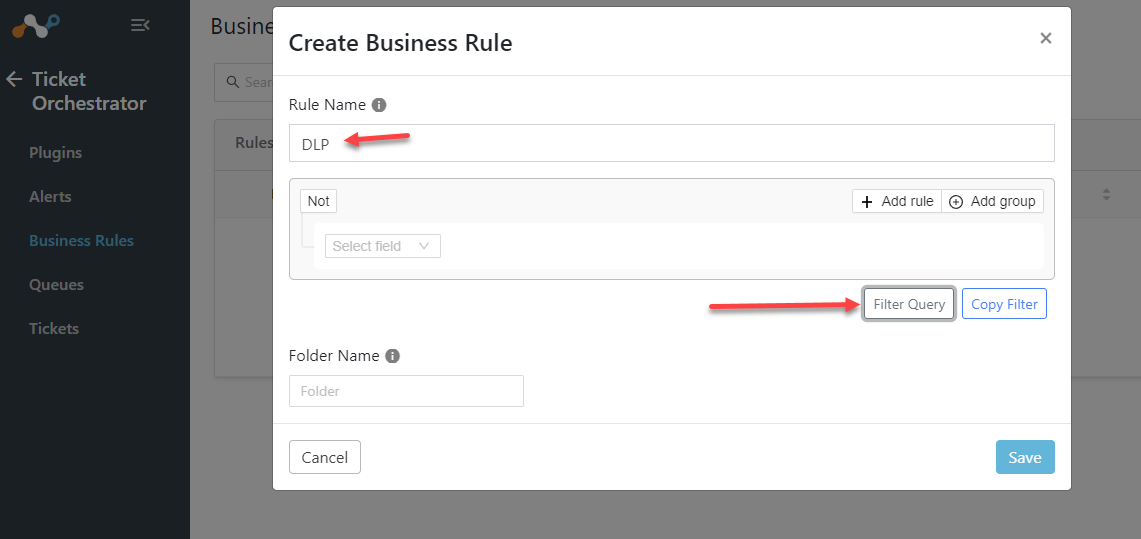
Be sure to “Load” before you save
Create Queue Configuration
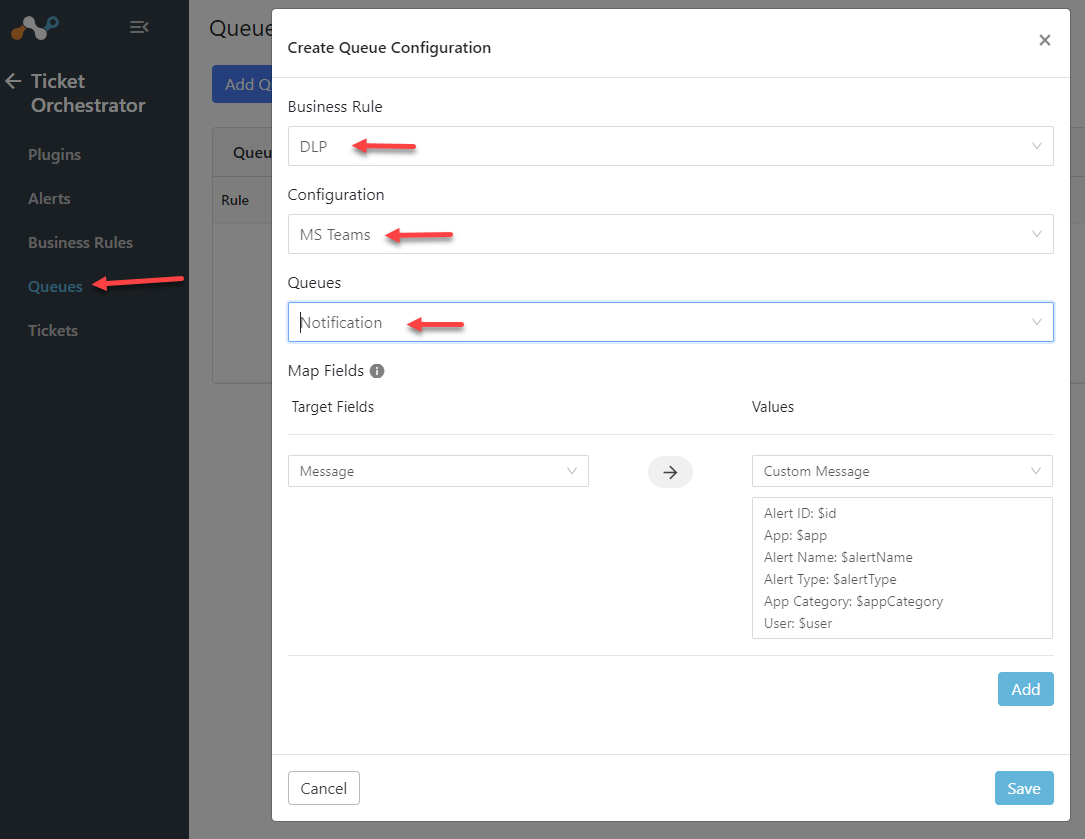
Ticket Orchestrator > Queues
The queue configuration will select which rule to use to send notifications.
Grab the Business Rule and Configuration you created and under Queues select Notification.
Save
Note: You can edit the target fields to include the fields that you want to be in the message that goes to teams.
Verify Integration
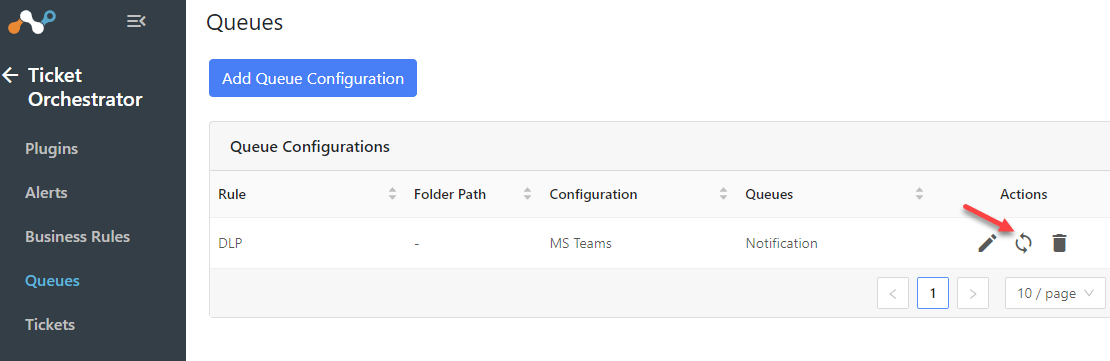
You can trigger a sync from the Queues page or wait until the plugin sync interval (60 min default).
Check CTO Tickets
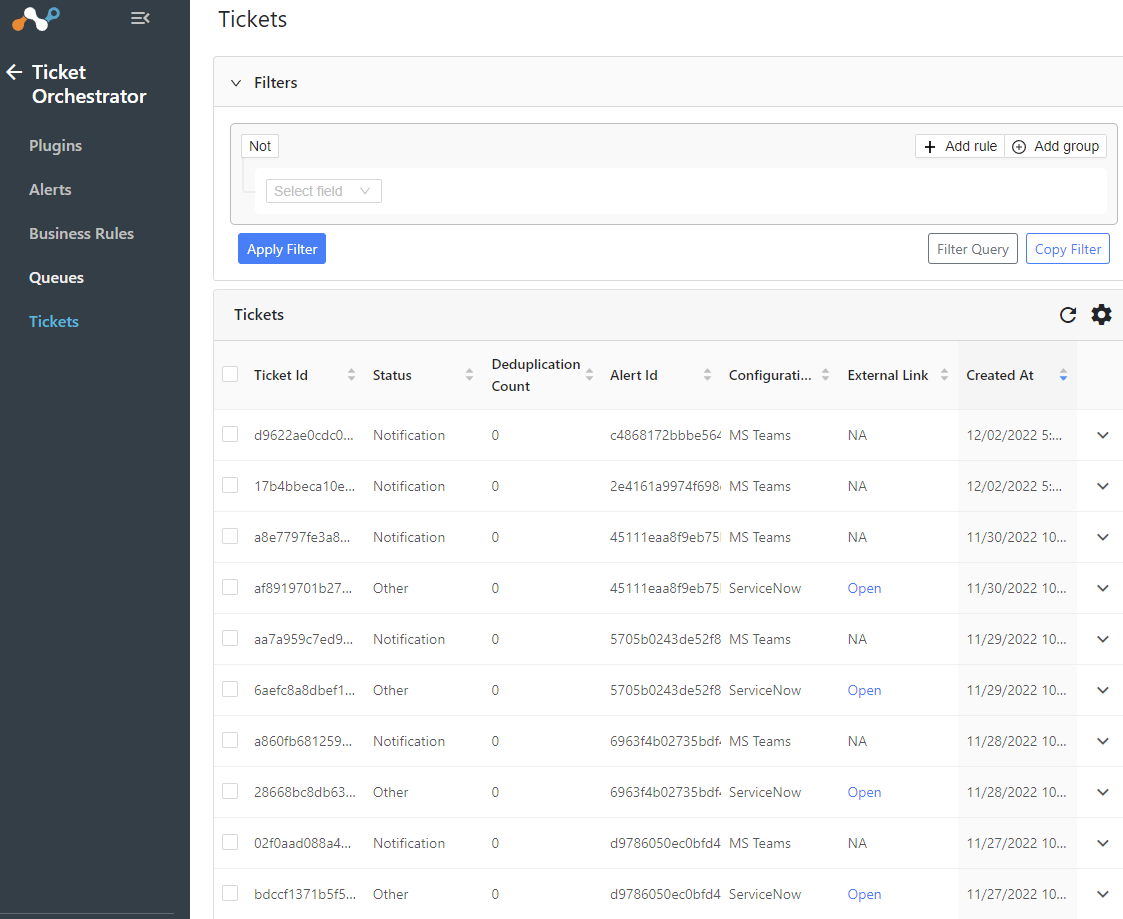
Once sync’d you can view the ticketing matching your business rule under the Tickets tab.
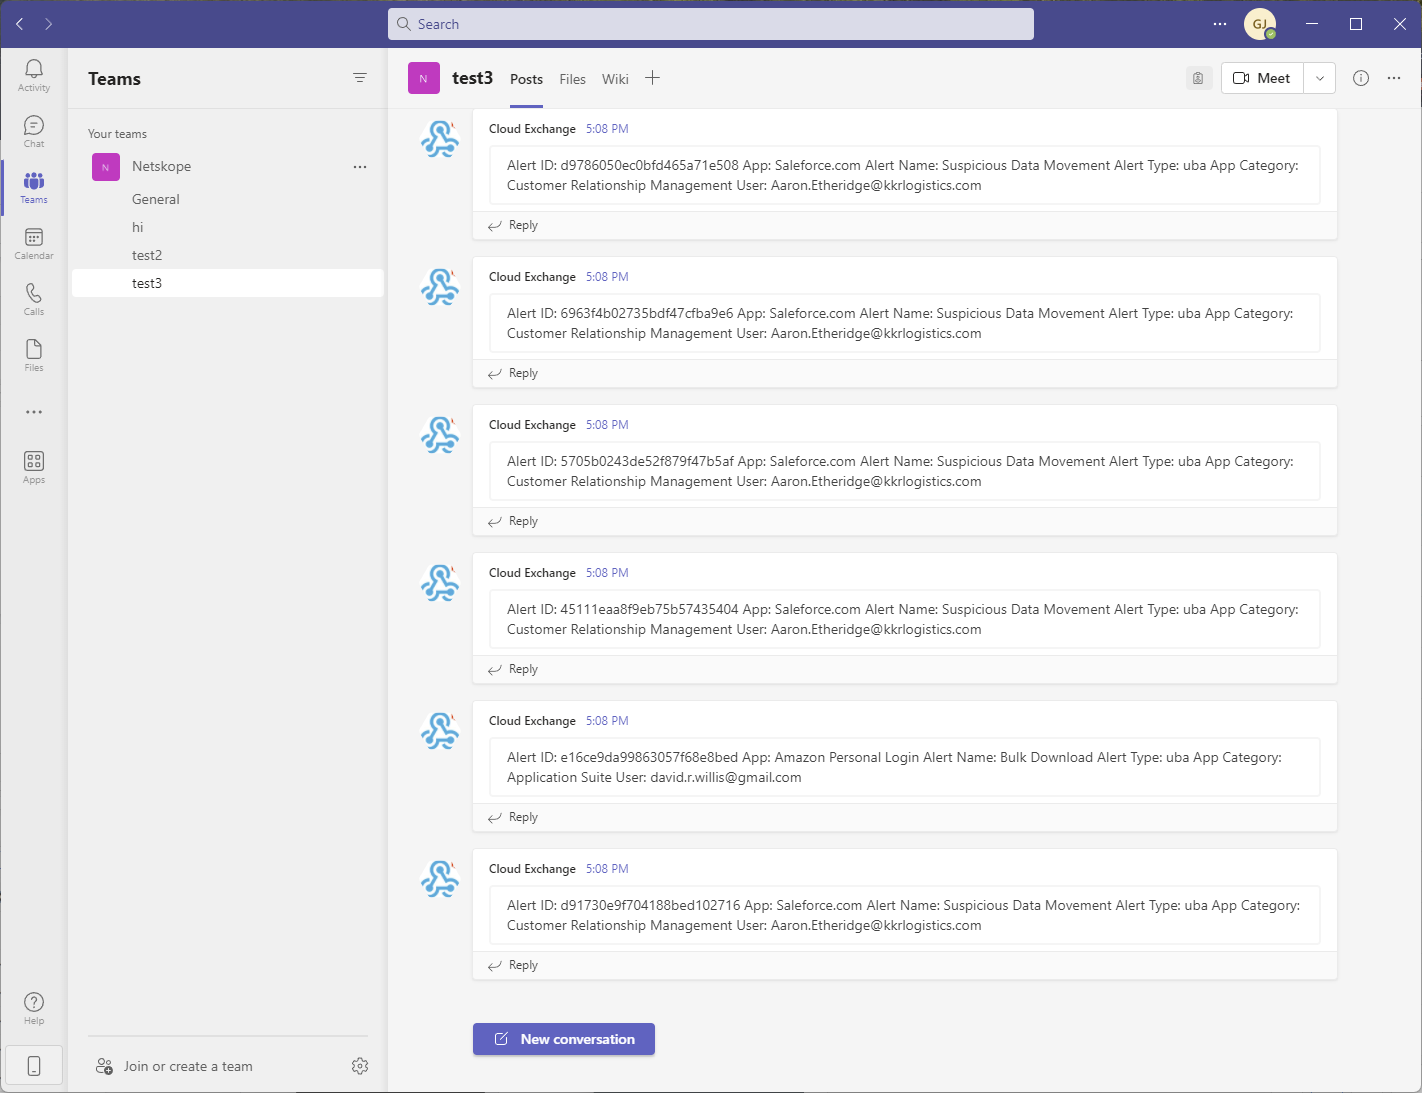
Verify tickets are coming into MS Teams
Back on your Microsoft Teams application you should also see all of your tickets going into the channel you integrated.