
Deploying Netskope Enterprise Browser to your Windows Fleet
Introduction
Enterprise Browser allows organizations to provide secure access to sensitive applications & content for unmanaged devices or devices not running the Netskope client. Here at Netskope the Global Information Security and Information Technology teams partnered closely to successfully launch this technology internally. Below you will find instructions on how the IT team deployed this solution to our fleet of Windows machines.
This method is for deploying with Microsoft Intune. This guide details how to deploy the Netskope Enterprise Browser with auto profile enrollment. Netskope Enterprise Browser profiles are leveraging users' corporate email address and for Entra Joined Windows machines, this allows admins to leverage the UPN to have the browser auto enroll upon deployment.
The method described in this guide consists of 2 steps, deploying the installer and config file to the local machine via Win32 Deployment, then leveraging a PowerShell Platform script or in our example a Remediation Script to complete the Enterprise Browser installation with auto profile enrollment.
Script Based Auto Enrollment Deployment
Part 1 - Pre-requist task
Installer & Configuration file deployment to local machine
- Get the MDM Installation artifact (currently a Windows MSI file), this file will be sent to you via your CSR
- Add this to a dedicated folder on your Windows Machine you use for your app package development
- Create a Powershell script that will run the deployment
- Example of our deployment script, where we are targeting deployment of the files to Public Libraries folder
#Installation Script: EB-Installfile.ps1
$FileName = "EnterpriseBrowser.msi"
$ScriptPath = [System.IO.Path]::GetDirectoryName($MyInvocation.MyCommand.Definition)
Copy-Item -Path "$ScriptPath\$FileName" -Destination "$Env:Public\Libraries"
- You can also set up a removal script if required
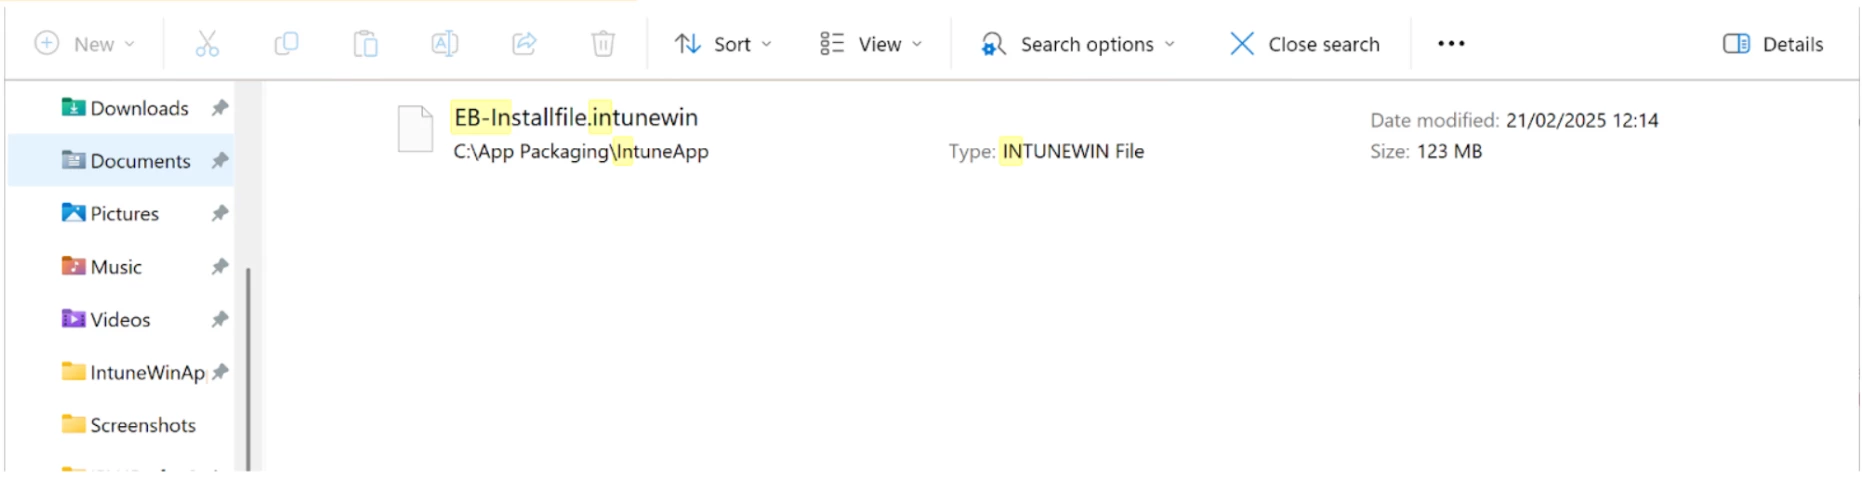
- Now your Dedicated folder should look like below

- Now wrap the .ps1 file within the folder to package the whole contents using IntuneWinAppUtil.exe
- Download the IntuneWinAppUtil.exe tool from the Microsoft Download Center. - (GitHub - microsoft/Microsoft-Win32-Content-Prep-Tool: A tool to wrap Win32 App and then it can be uploaded to Intune ) - (You can information on how to use IntuneWinAppUtil within the link as well in this video)
- Now your Powershell and installer file is wrapped into a .intunewin it is ready to deploy as a Win32 Deployment to your target endpoints
- Login to your Intune Environment - (https://endpoint.microsoft.com)
- On Intune navigate to App and select create
- Select Windows App Win32

- Enter the name and details of your package

- On Select file to Update: Select your .intunewin file you created in step 6&7

- Add the following install commands & Set the Install behavior to System and no specific action for device restart
Install command:
%windir%\system32\windowspowershell\v1.0\powershell.exe -executionpolicy bypass -file "EB-Installfile.ps1"
Uninstall Command:
Uninstall command: %windir%\system32\windowspowershell\v1.0\powershell.exe -executionpolicy bypass -file "Remove-file.ps1"

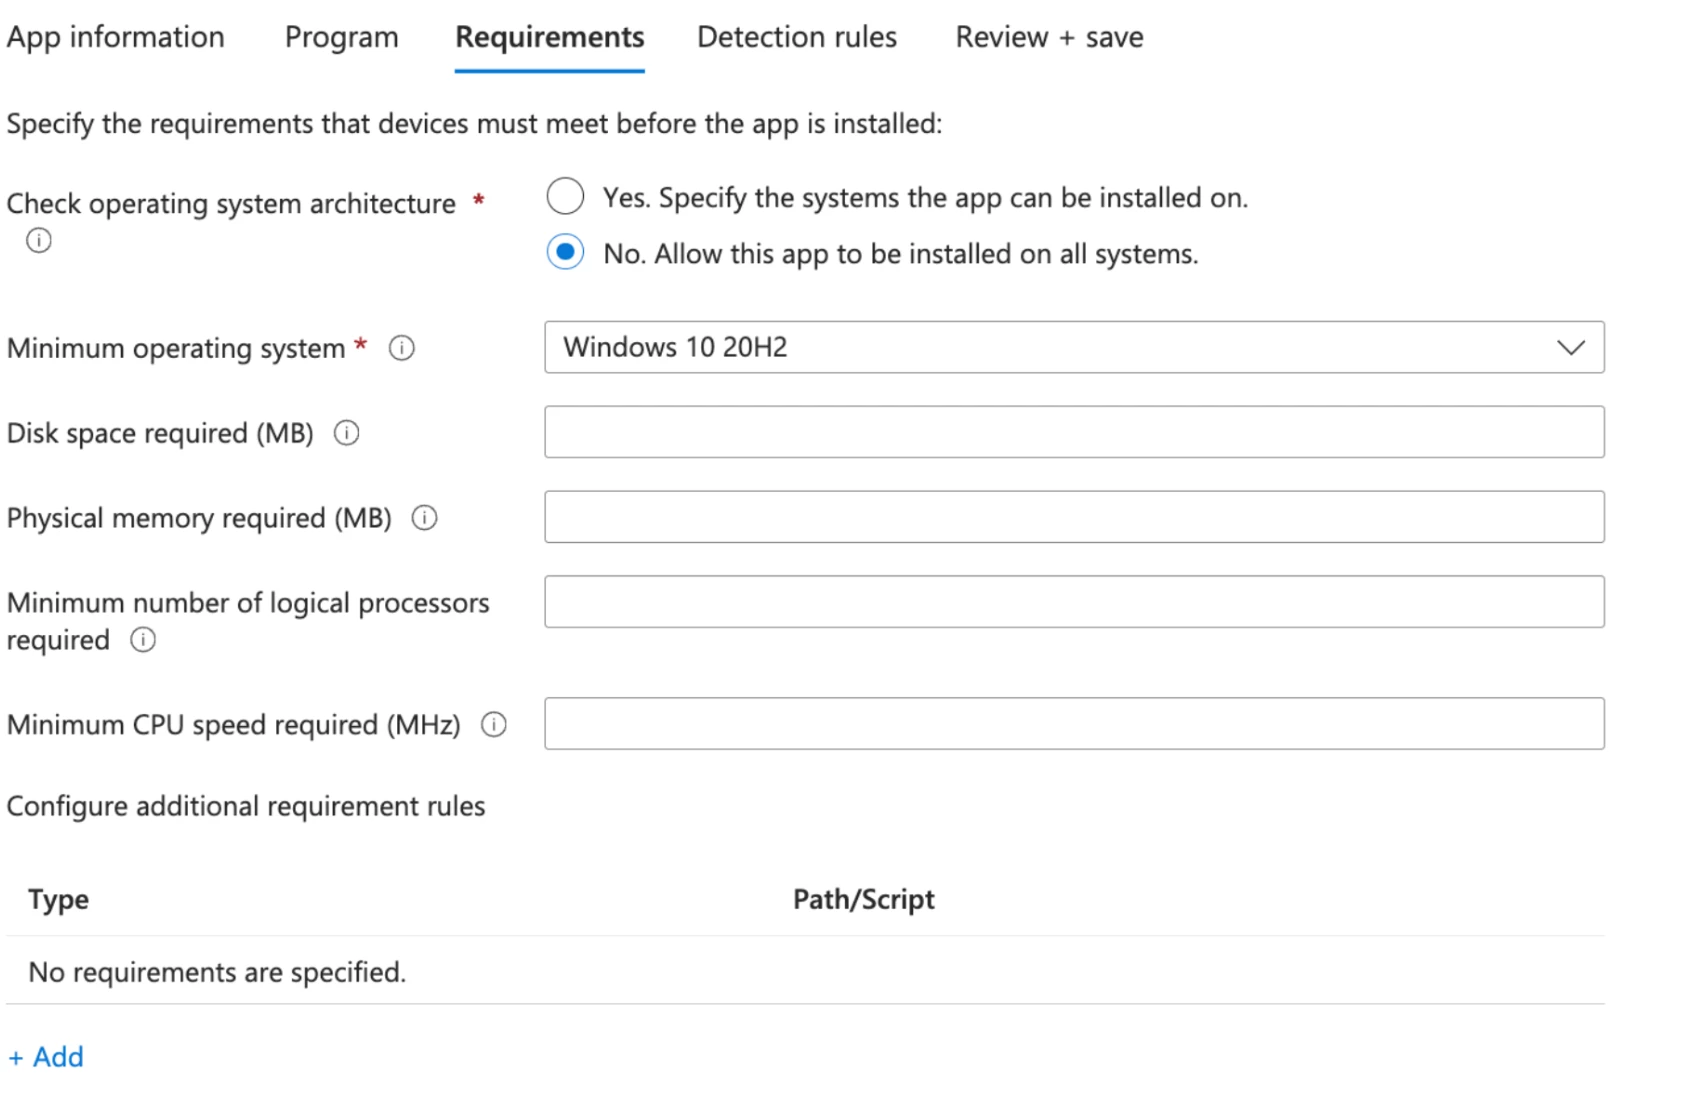
- Set the requirements to No. Allow this app top be installed on all systems
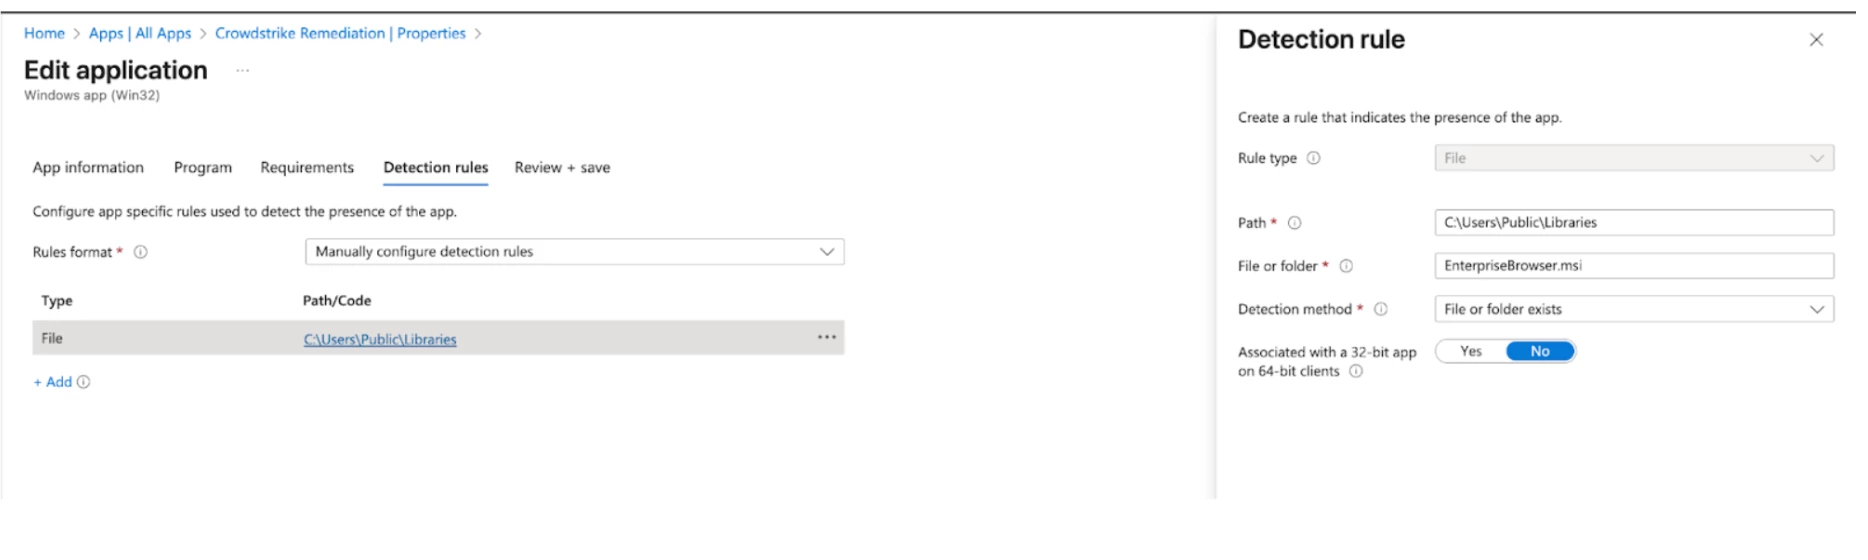
- For the detection, you can set manual and map to the C drive public Libraries folder: C:\Users\Public\Libraries. In the file section, place EnterpriseBrowser.msi
- Assign to your relevant scope or assignment group and then select complete and allow to deploy to your targeted fleet.
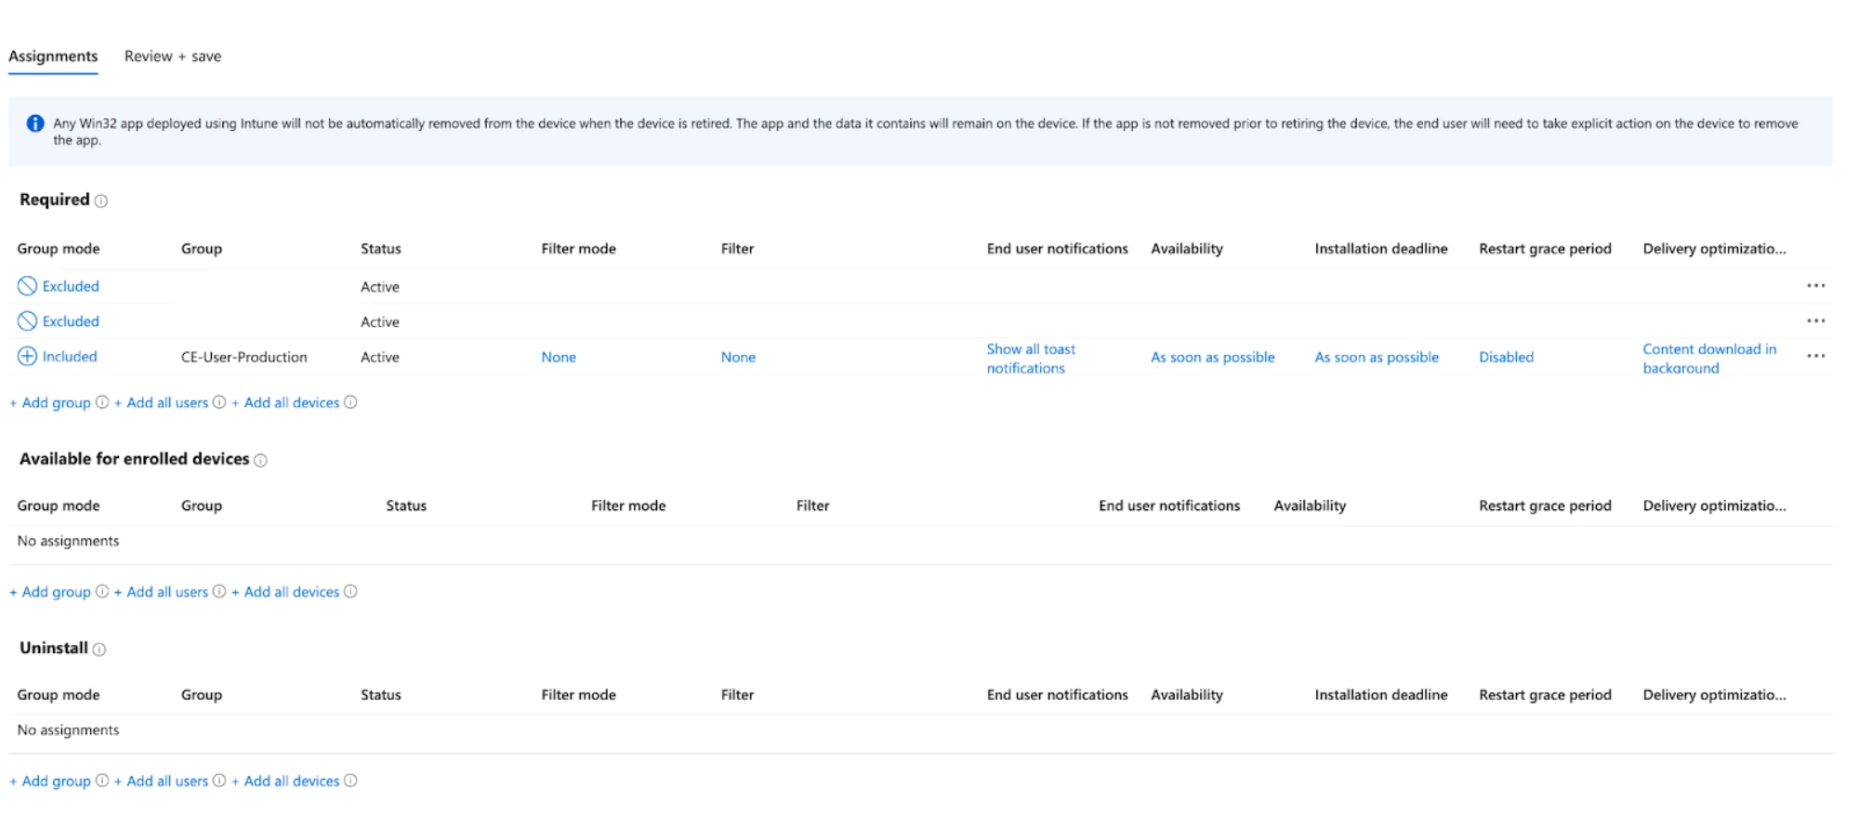
Part 2 - Script Deployment task
- Select Devices > then select Scripts & Remeditations

- Set to remediations & select create

- Set a name and description

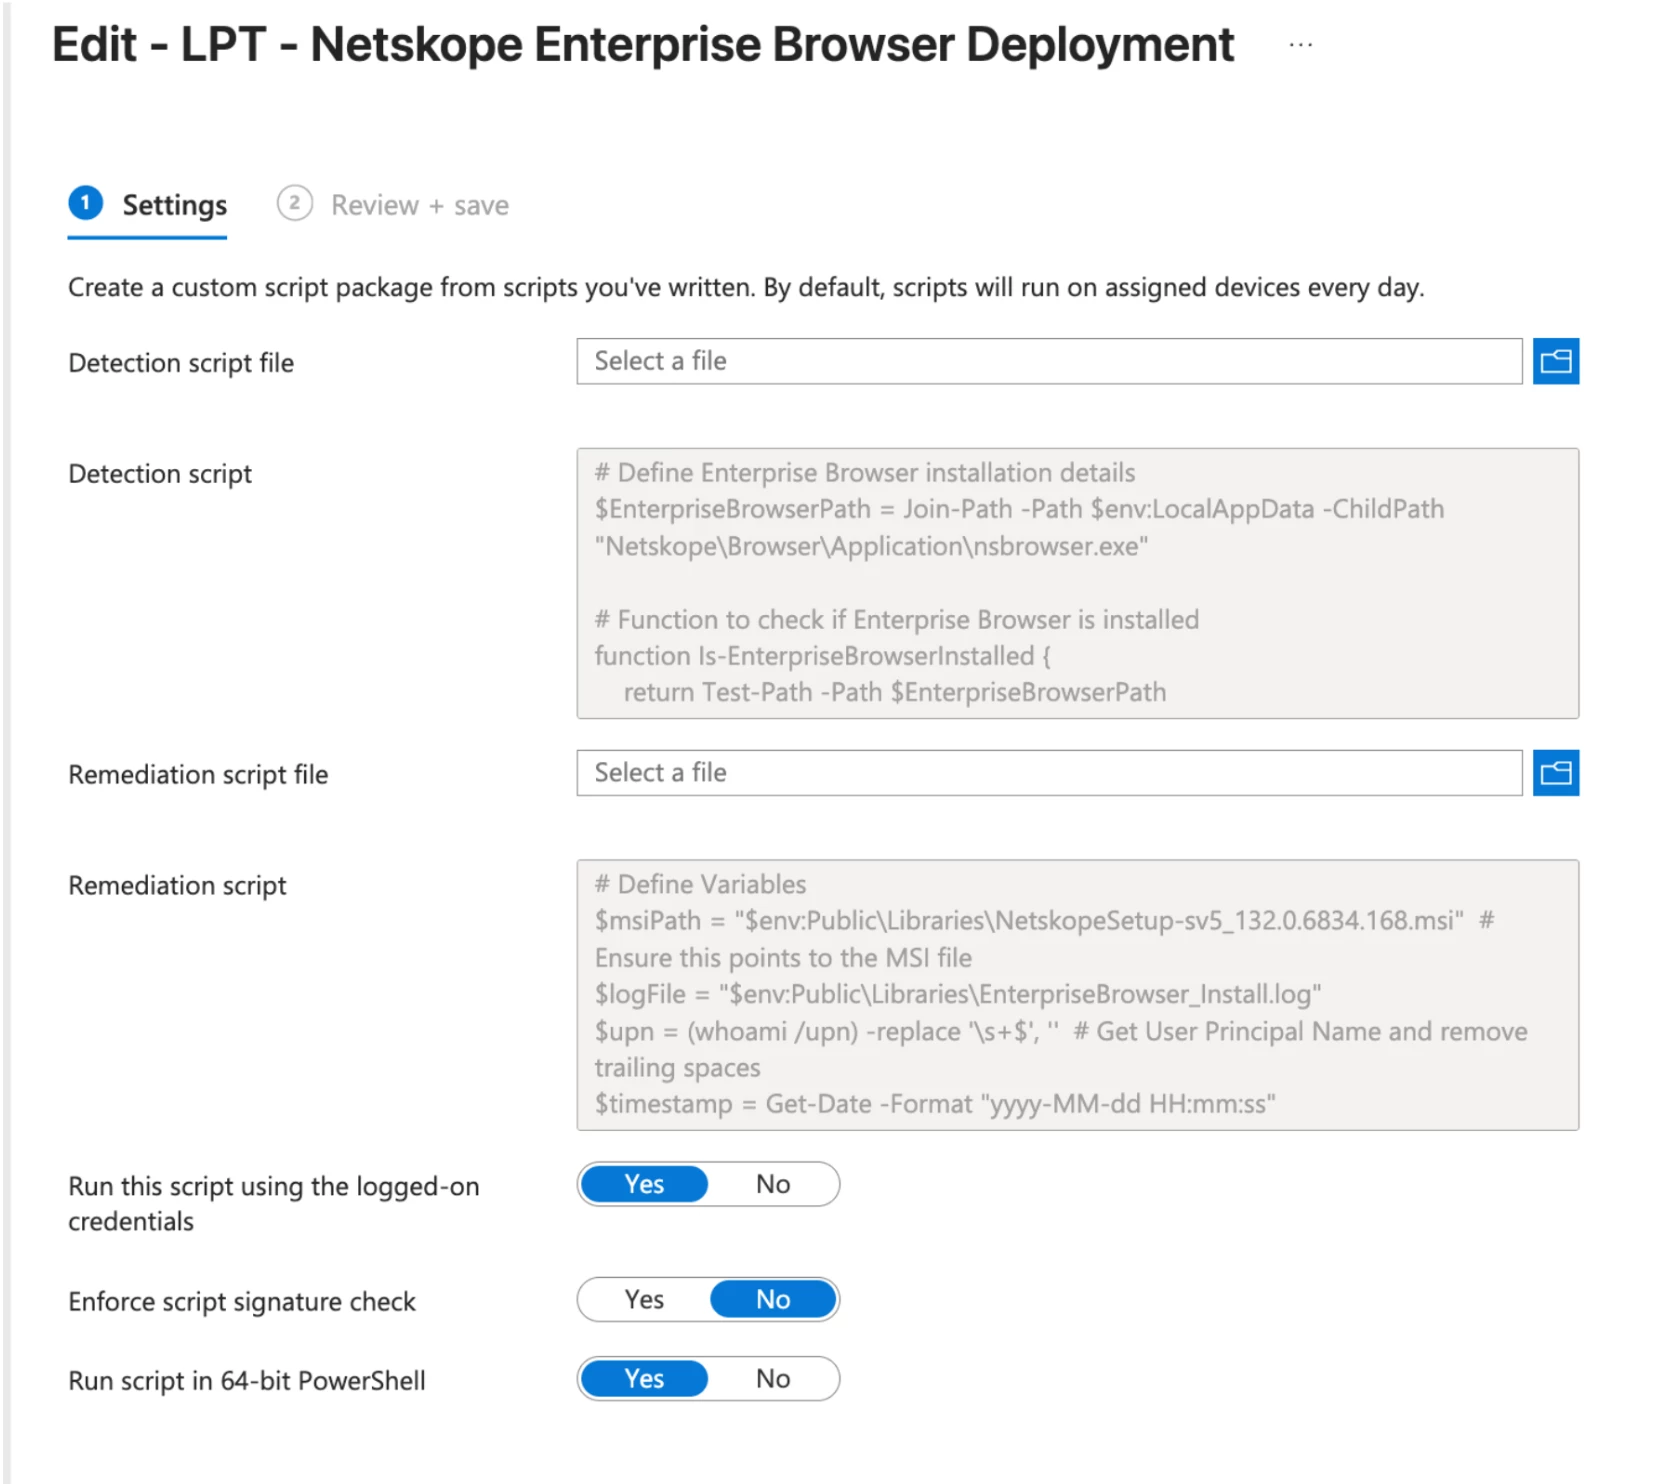
- Add your detection and Remediation script & set the script to run using the logged-on credentials and also set script to run in 64-bit
Detection Script - (Detecting if application is already installed on endpoint
# Discovery
$OutputVariable = & "%USERPROFILE%\AppData\Local\Netskope\Browser\Application\nsbrowsrer.exe" -f | Out-String
$OutputVariable
exit 1
Remediation Script - (This points to the installer file pushed down in Step 1 and creates a log file and installs using the install argument leveraging the UPN)
Note: The parts of the script in red need to have your specified Host details and Tenant
# Remediation
$msiPath = "$env:Public\Libraries\EnterpriseBrowser.msi" # Ensure this points to the MSI file
$logFile = "$env:Public\Libraries\EnterpriseBrowser_Install.log"
$upn = (whoami /upn) -replace '\s+$', '' # Get User Principal Name and remove trailing spaces
$timestamp = Get-Date -Format "yyyy-MM-dd HH:mm:ss"
# Function to Write Logs
function Write-Log {
param ([string]$message)
$logMessage = "$timestamp - $message"
Write-Host $logMessage
Add-Content -Path $logFile -Value $logMessage
}
# Validate MSI Path
if (-Not (Test-Path $msiPath)) {
Write-Log "ERROR: MSI file not found at $msiPath. Exiting script."
exit 1
}
# Define Install Arguments
# Define install arguments
$arguments = "/i `"$msiPath`" /qn NETSKOPEPROFILE=`"--netskope-mp-host=Your Host --netskope-user-email=$upn --netskope-tenant-name=Your Tenant`""
# Start Installation
Write-Log "Starting Enterprise Browser installation for: $upn"
Start-Process -FilePath "msiexec.exe" -ArgumentList $arguments -NoNewWindow -Wait
$exitCode = $LASTEXITCODE
# Check if installation was successful
if ($exitCode -eq 0) {
Write-Log "Enterprise Browser Installed Successfully."
} else {
Write-Log "ERROR: Installation Failed with Exit Code: $exitCode"
exit 1
}
exit 0
- Set your scope targets or your assignment group depending on your assignment setup on your Microsoft Intune Tenant & set the schedule suitable for your environment

- Now review and create

Once the script runs the user should see the icon on their desktop with the profile automatically enrolled
Below is an example of what your end users will see post deployment


Please let us know if these instructions were helpful to you and don’t hesitate to leave a comment or question below!


