

Netskope Global Technical Success (GTS)
Manual Deployment of Netskope Client on macOS with PLIST
Netskope Cloud Version - 130
Objective
This document provides step-by-step instructions to manually install and configure the Netskope Client on macOS using the PLIST method. This method ensures the client is preconfigured with the correct tenant details during installation.
Prerequisites
- Mac OS device with administrator access
- Netskope Client installer package (.pkg) and script downloaded from support portal.
- Access to the Netskope tenant to retrieve the Organization Token and Secure Enrollment Token
What is PLIST?
A PLIST (Property List) is a configuration file used in macOS to store structured data like application preferences and system settings. In this case the the installation the Netskope Client reads this file to automatically configure itself with the correct tenant information and eliminate the need for manual configuration steps.
Steps
Step 1: Download the Netskope macOS Package and Script
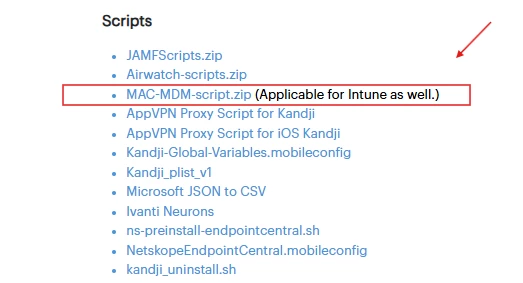
- Log in to the Netskope Support Portal: https://support.netskope.com/s/article/Download-Netskope-Client-and-Scripts
- Download the Netskope Client installer package for macOS.
- Download the deployment script .

Step 2: Place the Netskope Package and Deployment Script in the Same Folder
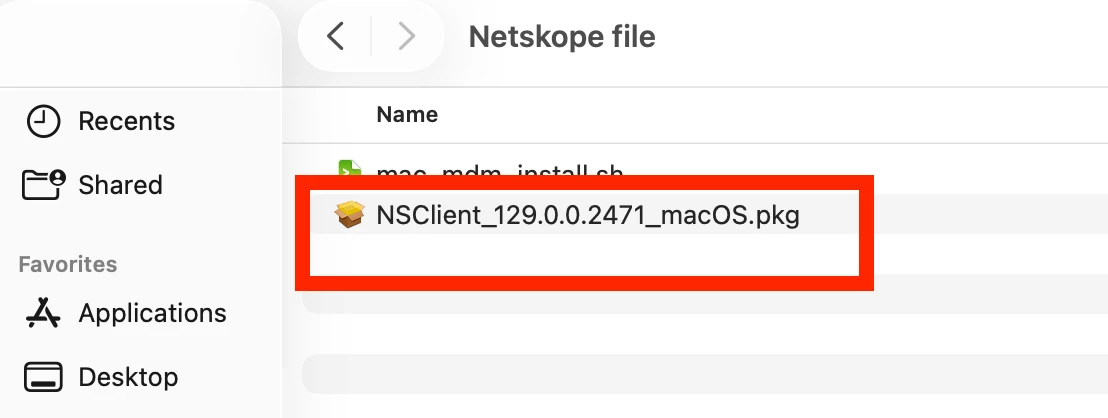
- On your macOS device, create a folder (for example "Netskope file") in a convenient location such as Desktop or Downloads.
- Copy both the Netskope Client installer package (.pkg) and the deployment script into this folder.
- Ensure that both files are in the same directory because the script will reference the installer package during execution.

Step 3: Generate the PLIST File
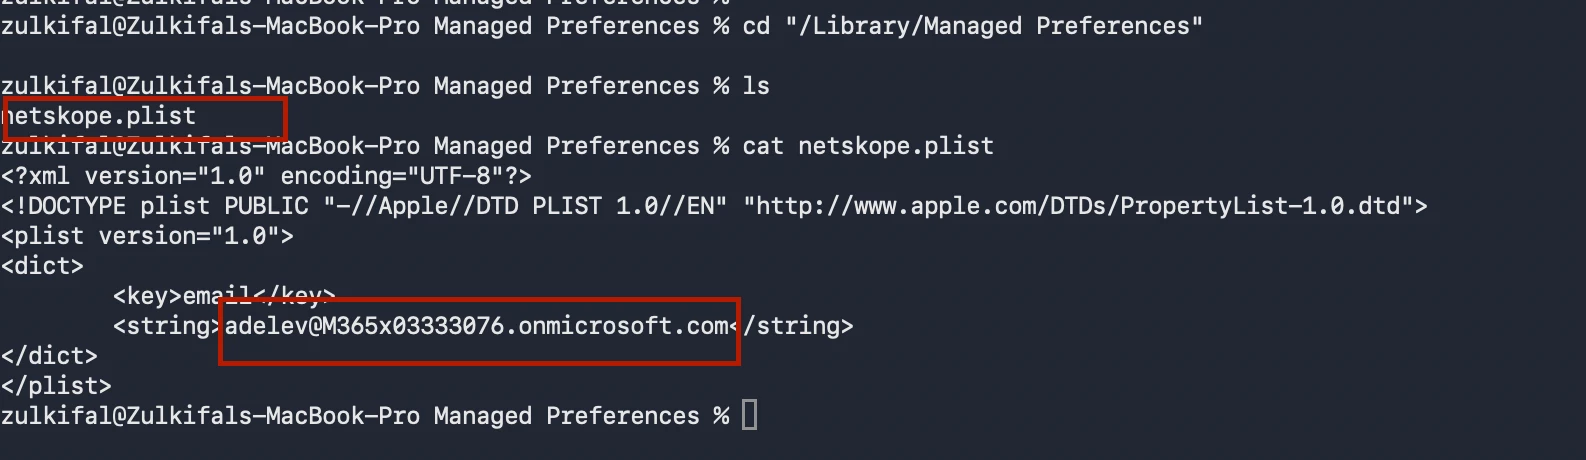
- Open Terminal on the macOS device and run the command below with your user email. You can give any name to the PLIST file.
sudo /usr/libexec/PlistBuddy -c "add email string adelev@M365x03333076.onmicrosoft.com" /Library/Managed\ Preferences/netskope.plist
- If your macOS device is not managed through an MDM solution, you might see an error similar to the one below when running the command:

This happens because the directory /Library/Managed Preferences/ is not created by default on unmanaged devices. To fix this, manually create the directory by running the following commands in Terminal:
sudo mkdir -p "/Library/Managed Preferences"
sudo chmod 755 "/Library/Managed Preferences"
After creating the /Library/Managed Preferences/ folder and running the same command again, you can see that the PLIST file is successfully created.
Step 4: Install the Netskope Client Using the Script
- Go to the directory where you have saved the script file.
- Make the script executable by running the command below:
chmod +x mac_mdm_install.sh

- Execute the installation command by providing the required parameters as shown below
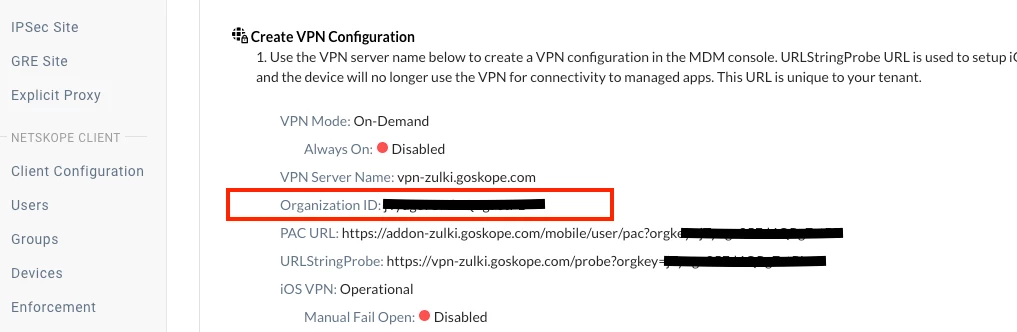
sudo ./mac_mdm_install.sh 0 0 0 addon-<tenant-name>[.region].<tenant-domain> <Organization ID> <plist file name> preference_email enrollauthtoken=<authentication token> enrollencryptiontoken=<encryption token>
example:
sudo ./mac_mdm_install.sh 0 0 0 addon-test.goskope.com ABCDEFGH netskope.plist preference_email enrollauthtoken=ABCDEFGH enrollencryptiontoken=ABCDEFGH
- The Organization ID, enrollauthtoken, and enrollencryptiontoken can be found in the Netskope UI under:Settings > Security Cloud Platform > Netskope Client > MDM Distributions

- You should see an output similar to the one shown below:

- Now double-click the
.pkgfile and install the Netskope Client.
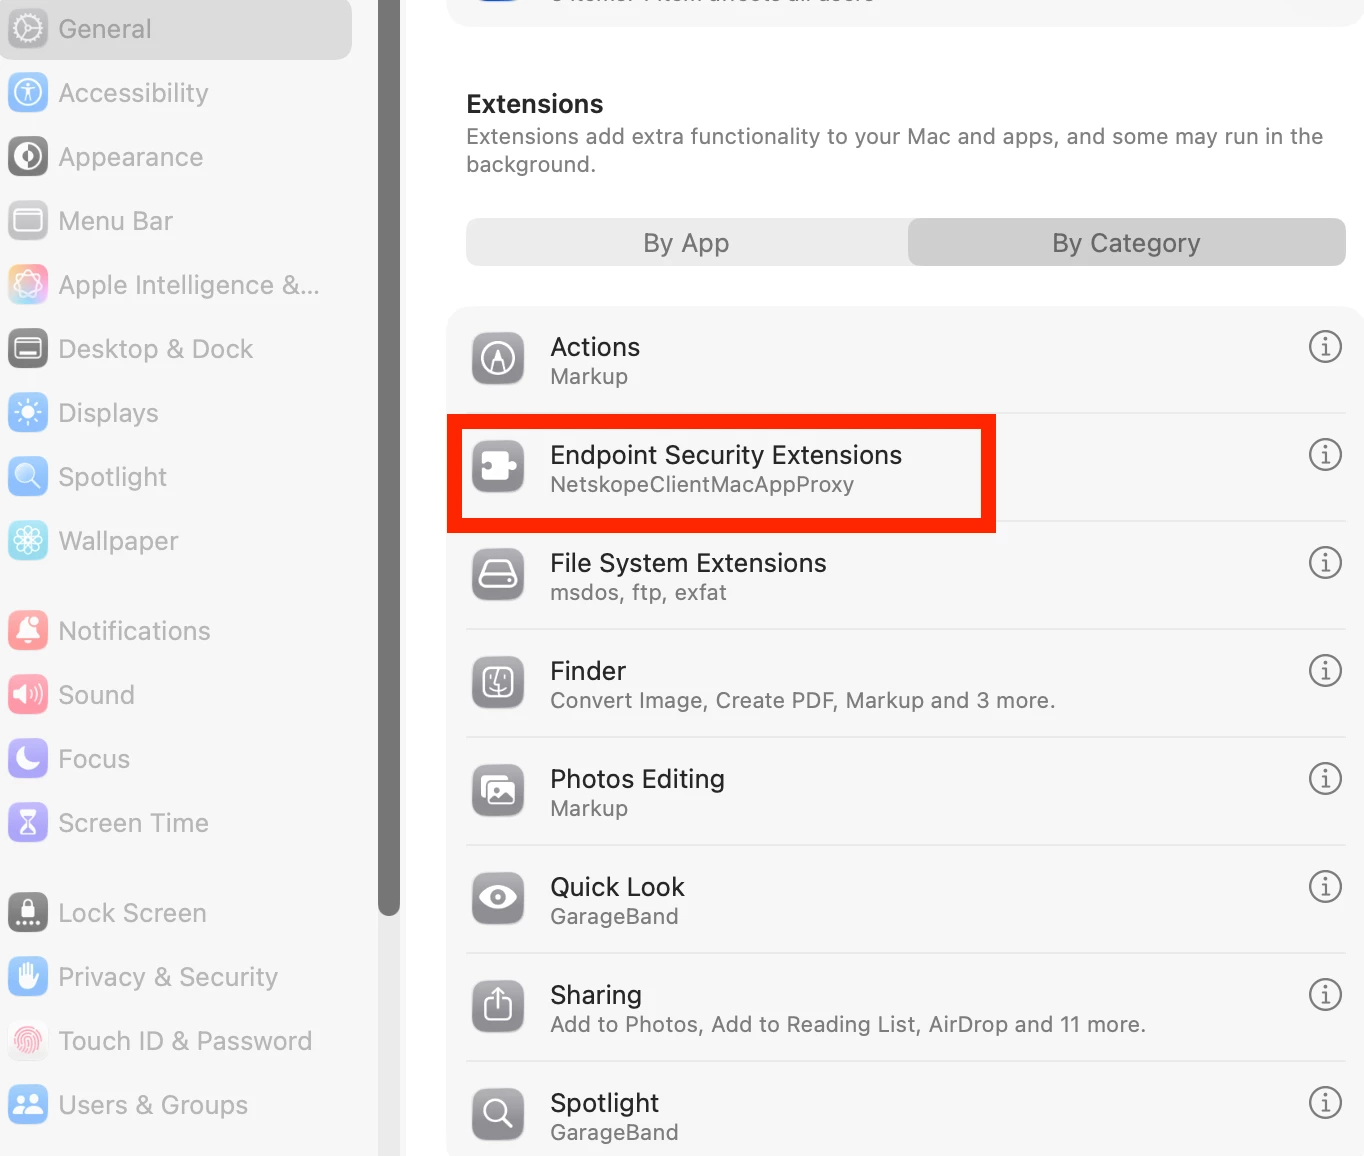
- Once the client is installed it will prompt you to allow system extensions. Make sure you approve and allow them.
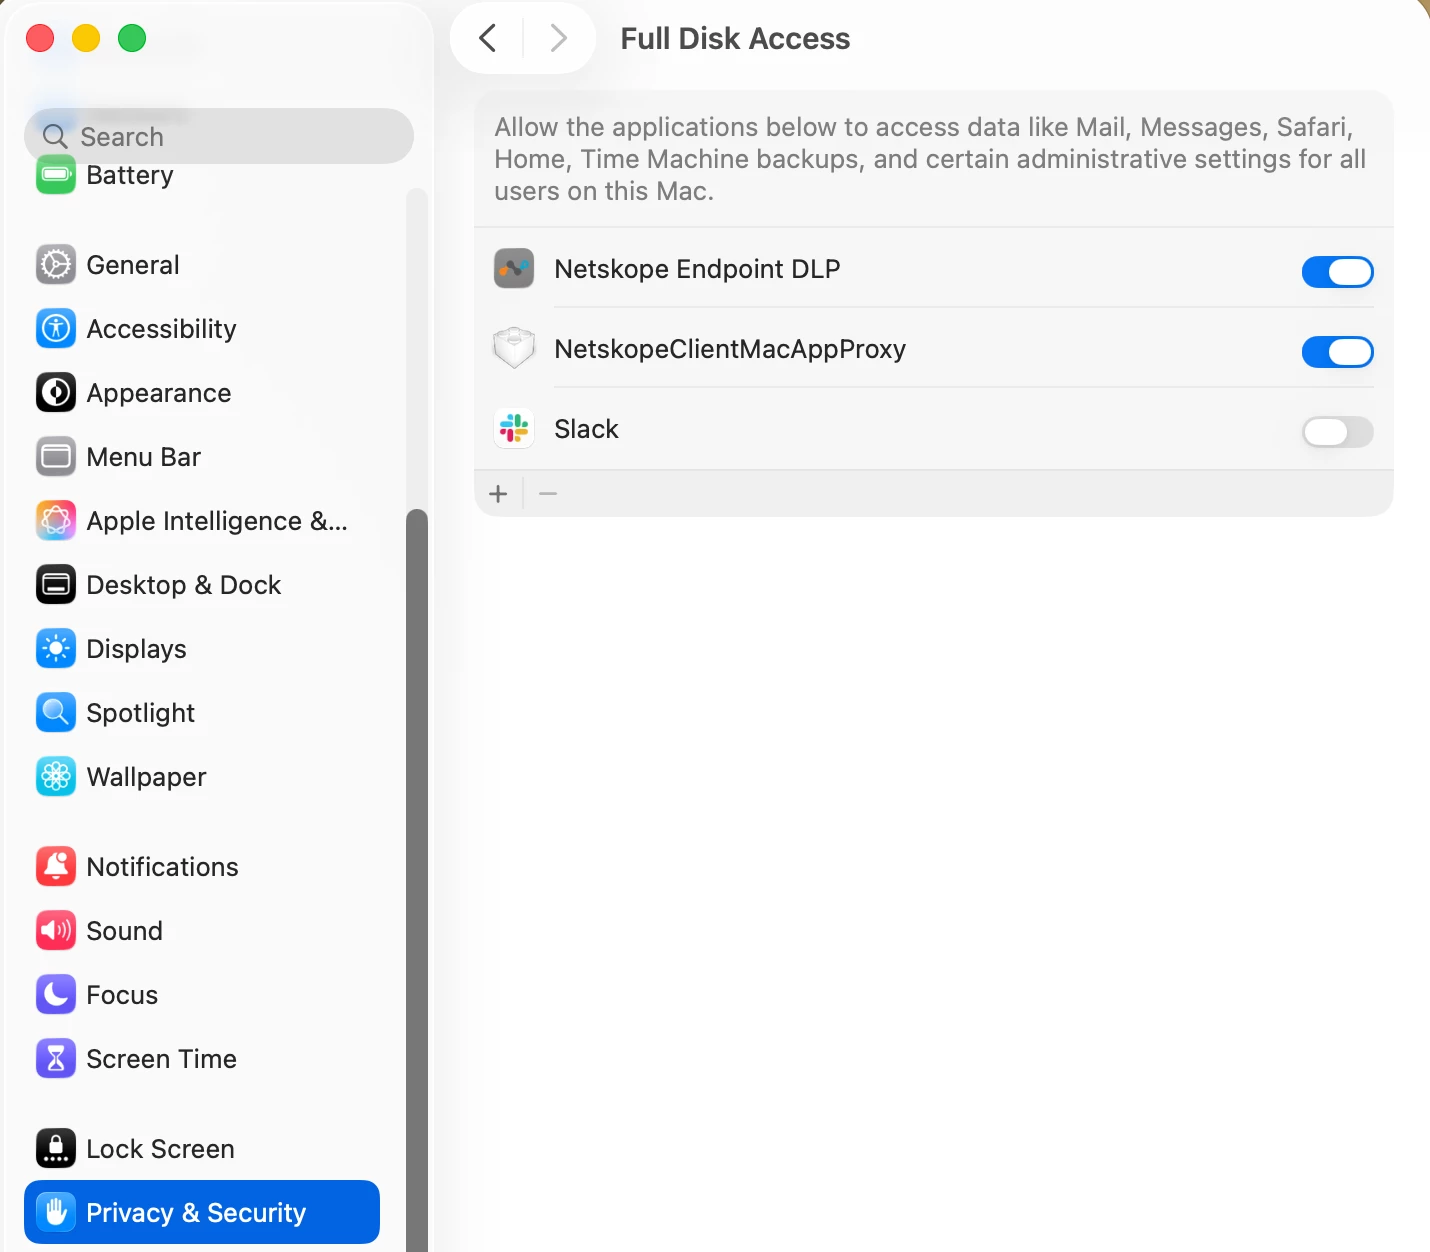
- For Netskope Client deployments on macOS Sonoma and later, Netskope Client requires Full Disk Access Permissions. During installation, end-users can view a dialog box instructing them to approve these permissions in System Settings for Netskope’s NetskopeClientMacAppProxy.
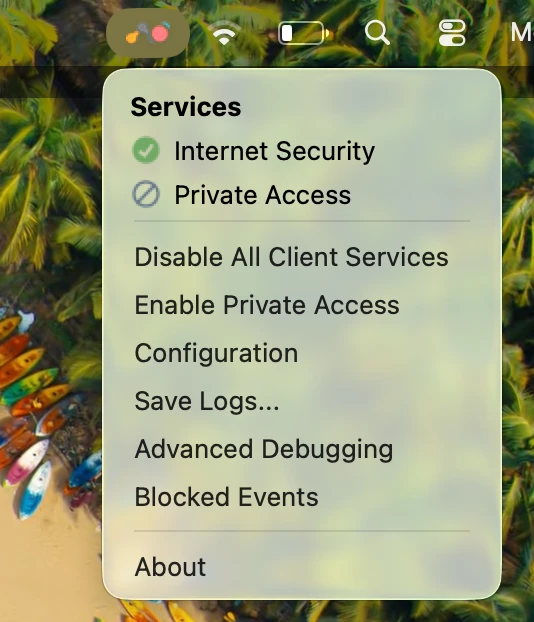
Verification

Terms and Conditions
- All documented information undergoes testing and verification to ensure accuracy.
- In the future, it is possible that the application's functionality may be altered by the vendor. If any such changes are brought to our attention, we will promptly update the documentation to reflect them.
Notes
- This article is authored by Netskope Global Technical Success (GTS).
- For any further inquiries related to this article, please contact Netskope GTS by submitting a support case with 'Case Type – How To Questions'.


