Ping Identity’s PingOne platform provides the ability to define a SAML-compatible application that can be used for granting access to the Netskope Admin Console. This guide will walk you through the steps for creating a custom application to meet this use case.
Ping does not provide a pre-built application for SAML SSO - a custom application is required Ping One does not support SCIM for User and Group provisioning - you will need Ping Federate with the SCIM SaaS Provisioner integration.
Instructions
Follow the below steps to create the custom SAML integration. The high-level process is to a) define a custom attribute that will contain the Netskope Admin Role; b) create the custom SAML application; and c) configure the Netskope tenant for SSO with Ping One.
- Login to the Ping console
- Click on your target Environment

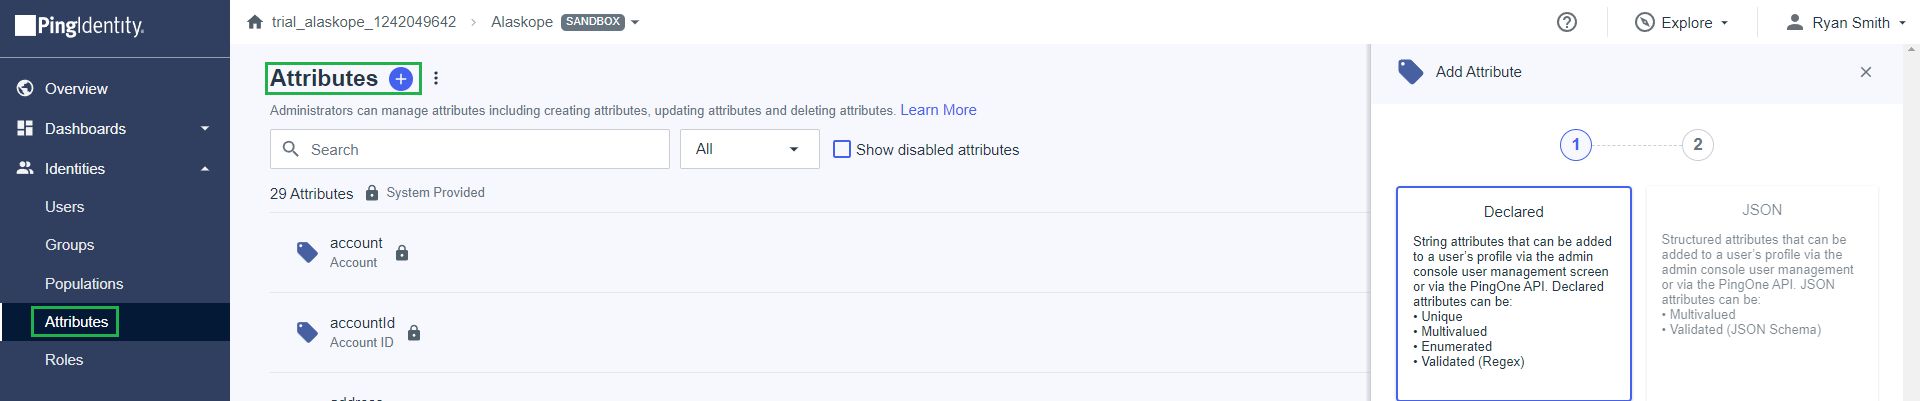
- Expand Identities and click on Attributes
- Click the Plus sign to add a new attribute
- Choose Declared as the Attribute Type and click Next
- Define the new Attribute
- Name = Netskope Admin Role
- Display Name = Netskope Admin Role
- Description = Contains the name of the role the user will have in the Netskope Admin Console (Optional)
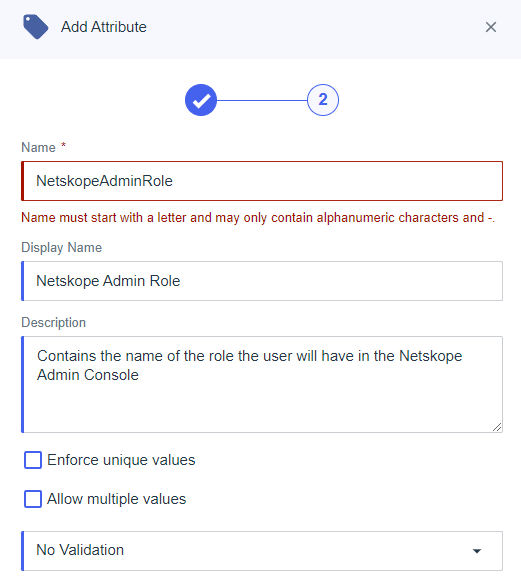
- Click Save
- Add the new Attribute to your user(s)
- Navigate to Users
- Click on the target user
- Click the Pencil next to personal Info to edit the user profile

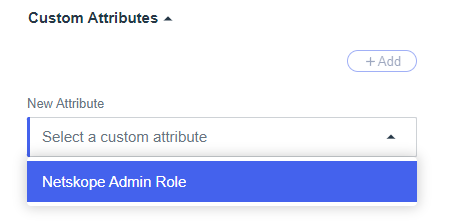
- Scroll to Custom Attributes
- Click the Add button and choose the Netskope Admin Role attribute
- Set the value to match the role defined in the Netskope UI - predefined roles with spaces are supported. (Ex: Delegated Admin)
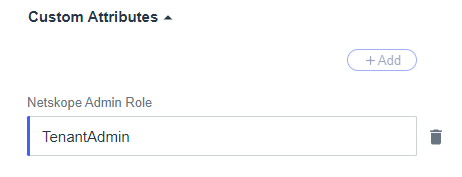
- Click Save
- Expand Connections and click on Applications
- Click the + sign

- Fill out the following information
- Application Name = Netskope Admin Console
- Description = Grant access to the Netskope Admin Console
- Icon = Optional
- Application Type = SAML Application

- Click Configure
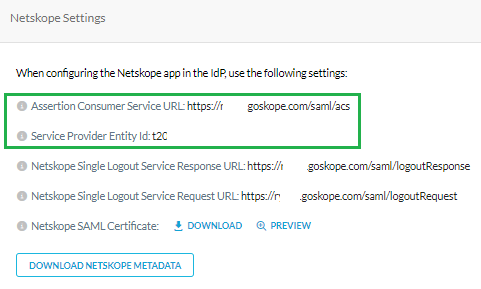
- On the SAML Configuration dialog, select Manually Enter and provide the following details from Settings > Administration > SSO
- ACS URL = https://<TENANT>.goskope.com/saml/acs
- Entity ID = Service Provider Entity ID
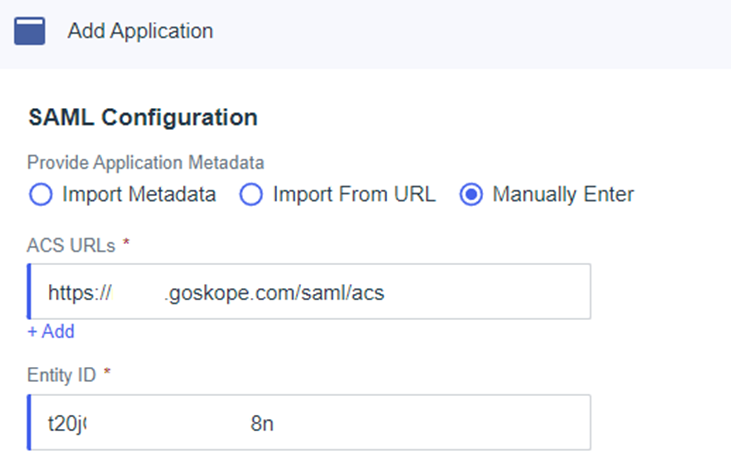
- Click Save
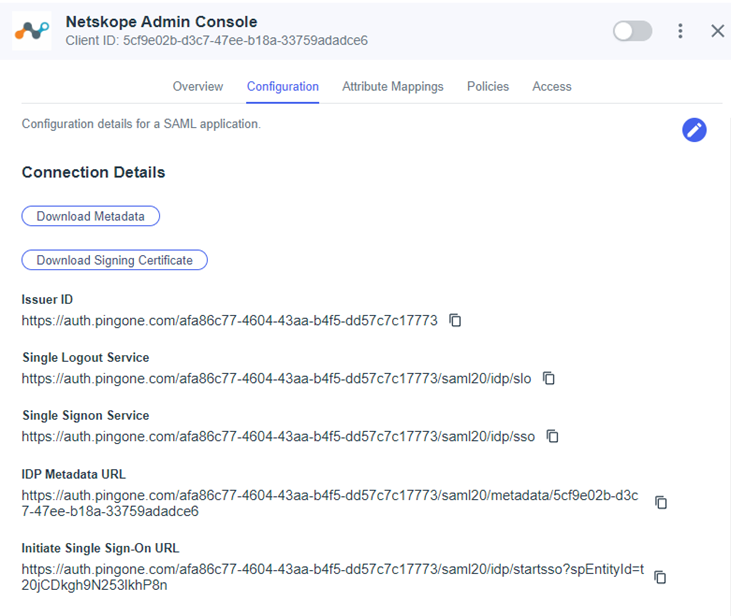
- Click on the Configuration tab of the application details and make note of the information - you’ll need this information to complete the setup in the Netskope UI
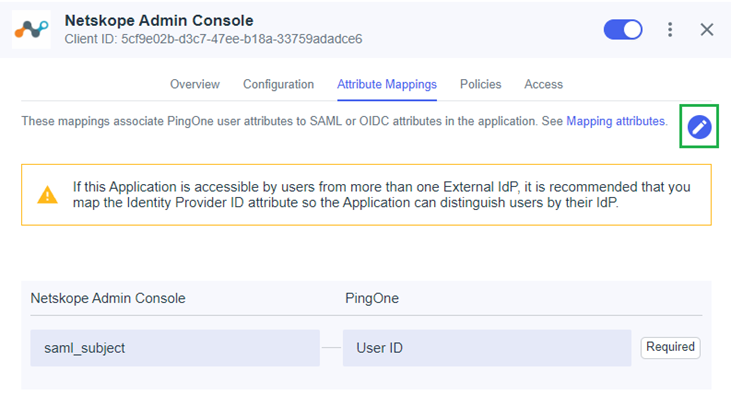
- Click on Attribute Mappings in the application details
- Click the Pencil icon on the right to edit the SAML attributes
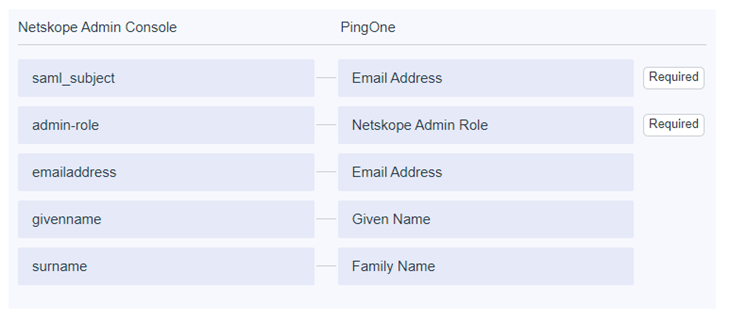
- Add / Edit the following SAML attributes and click Save
- saml_subject = Email Address
- admin-role = Netskope Admin Role (custom attribute you built earlier) Required
- emailaddress = Email Address
- givenname = Given Name
- surname = Family Name
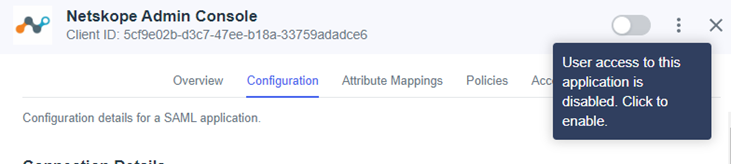
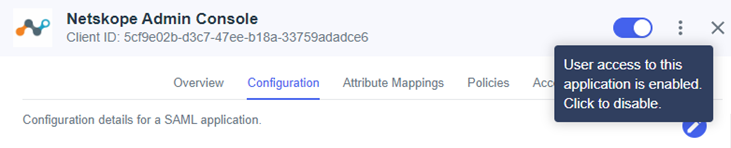
- Toggle the application to be enabled
- In the Netskope tenant, navigate to Settings > Administration > SSO
- Click on Edit Settings under SSO/SLO Settings
- Enter the following information
- IDP URL = Initiate Single Sign-On URL
- Issuer ID = IDP Entity ID
- IDP Certificate = Download Signing Certificate in CRT format
- Open with text editor
- Copy and paste into Netskope dialog
- IDP SLO URL = Single Logout Service (Optional)
- Click Submit to save your settings
- Test the sign-on process
- Logout of the Netskope Console or launch an incognito window and go to https://<TENANT>goskope.com. You should be redirected to Ping to login