

Netskope Global Technical Success (GTS)
KB - How to Re-Register the NPA Publisher
Netskope Cloud Version - 129
Netskope Publisher Version - 129
Objective
Provide the necessary steps to re-register the Netskope Publisher.
Prerequisite
- Netskope Private access licensing
- Existing Netskope Publisher VM already registered to a Netskope tenant.
- Access to the Netskope Publisher VM via CLI.
Context
This article provides a guide on how to efficiently transfer your Netskope Publisher from a Proof of Value (POV) environment to your production tenant. Instead of redeploying the Publisher from scratch—which can be time-consuming and double your configuration efforts—this process allows you to simply re-register your existing Publisher to a new Netskope tenant, saving you valuable time and effort.
Do you know?
- A Netskope Publisher is a small software package deployed on a virtual machine (VM) in your data center or cloud. It creates a secure, outbound-only tunnel to the Netskope Cloud, allowing authorized users to access your private applications without a traditional VPN. Essentially, it securely connects your private apps to your remote users based on zero-trust principles.
- The Netskope Publisher VM needs a private IP address and L3 connectivity to your private applications. The most critical requirement is allowing outbound connections on TCP port 443 to the Netskope Cloud for registration and communication. Deploying a Publisher typically requires some effort in configuring your data center or cloud infrastructure (networking, firewall rules, etc.)
Attention: Please be advised that following this article will result in removing every existing Netskope Private Apps resources and configurations on the Netskope Publisher, and restart your entire Netskope Publisher services. Therefore it should not be executed on a production Netskope Publisher handling production Private Apps traffic. Otherwise it will impact your Netskope users' access to those production Private Apps.
Procedure
Step #1 - Log in to the command-line interface of your registered Netskope Publisher VM.
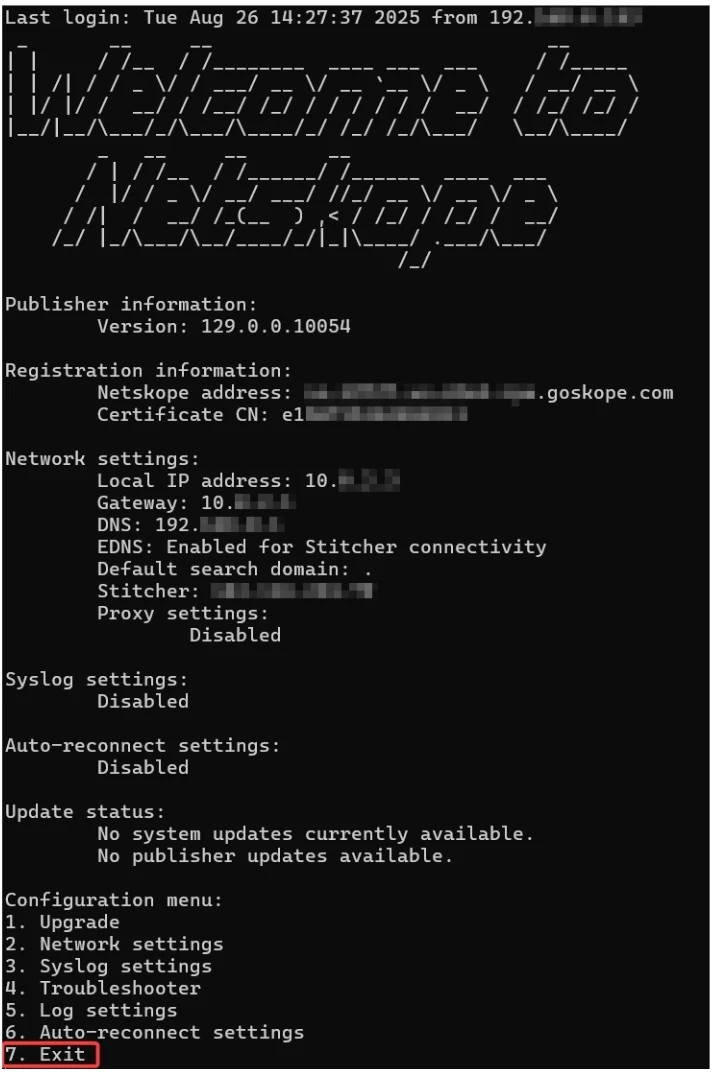
Step #2 - From the Publisher configuration menu, select option 7 to exit to the command prompt.
Step #3 - Navigate to your home folder (e.g., /home/ubuntu).
cd ~
Step #4 - List the files in the directory to identify the NPA Publisher resource folder.
ls -l

Step #5 - Recursively remove the files inside the resources folder.
sudo rm -rf resources/*
Step #6 - Restart the Netskope Publisher services.
sudo pkill -9 npa_publisher
Step #7 - Restart the NPA Publisher Wizard.
sudo ./npa_publiser_wizard
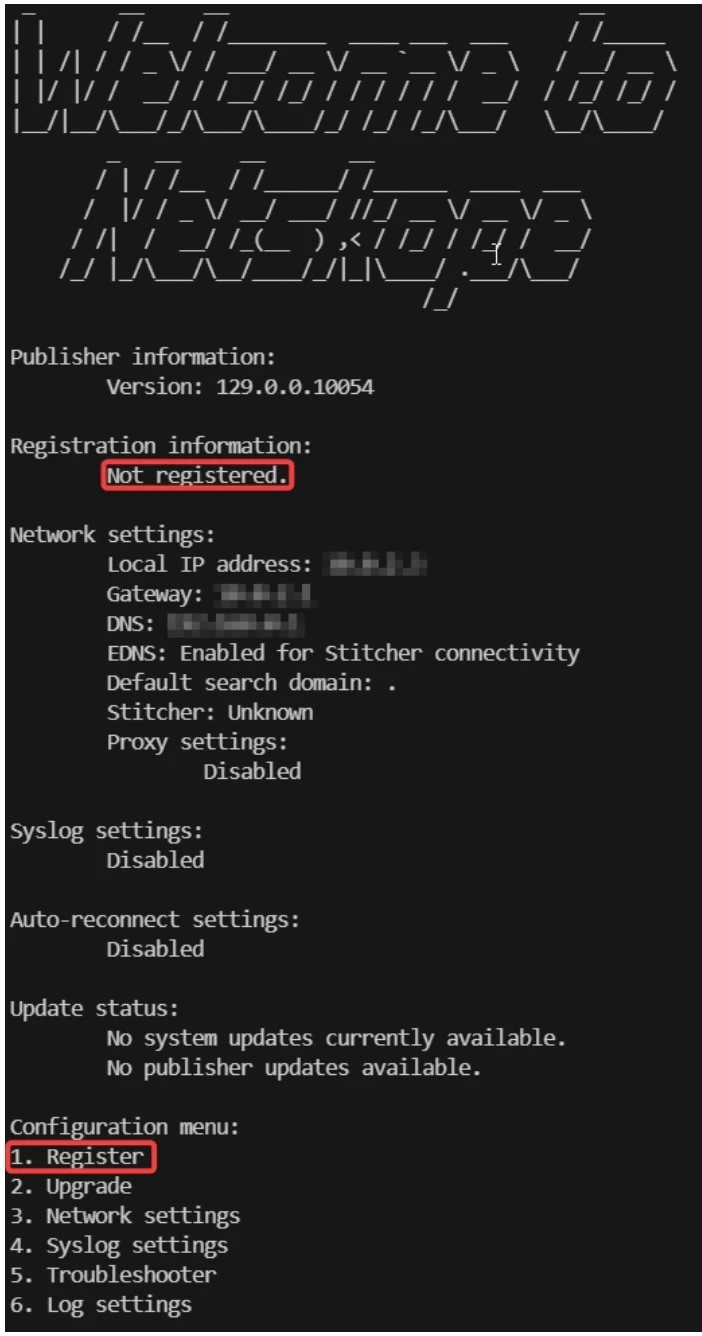
Your Publisher is now unregistered, and ready to be registered with your other Netskope tenant.
You may now follow the procedure to register your Netskope Publisher. Follow the Registration procedure by creating a new Netskope Publisher on your other Netskope tenant, Settings > Security Cloud Platform > Publisher > New Publisher and generate a new Token for the Publisher registration. Return to the Publisher CLI, select Option 1 and paste the Registration Token.
Wait for a few seconds, return to the Netskope tenant WebUI to confirm that the Netskope Publisher has changed state to CONNECTED.
For more information, visit our Netskope Docs:
https://docs.netskope.com/en/create-a-new-publisher/
Terms and Conditions
- All documented information undergoes testing and verification to ensure accuracy.
- In the future, it is possible that the application's functionality may be altered by the vendor. If any such changes are brought to our attention, we will promptly update the documentation to reflect them.
Notes
- This article is authored by Netskope Global Technical Success (GTS).
- For any further inquiries related to this article, please contact Netskope GTS by submitting a support case with 'Case Type – How To Questions'.


